
Family Art Night – The Project
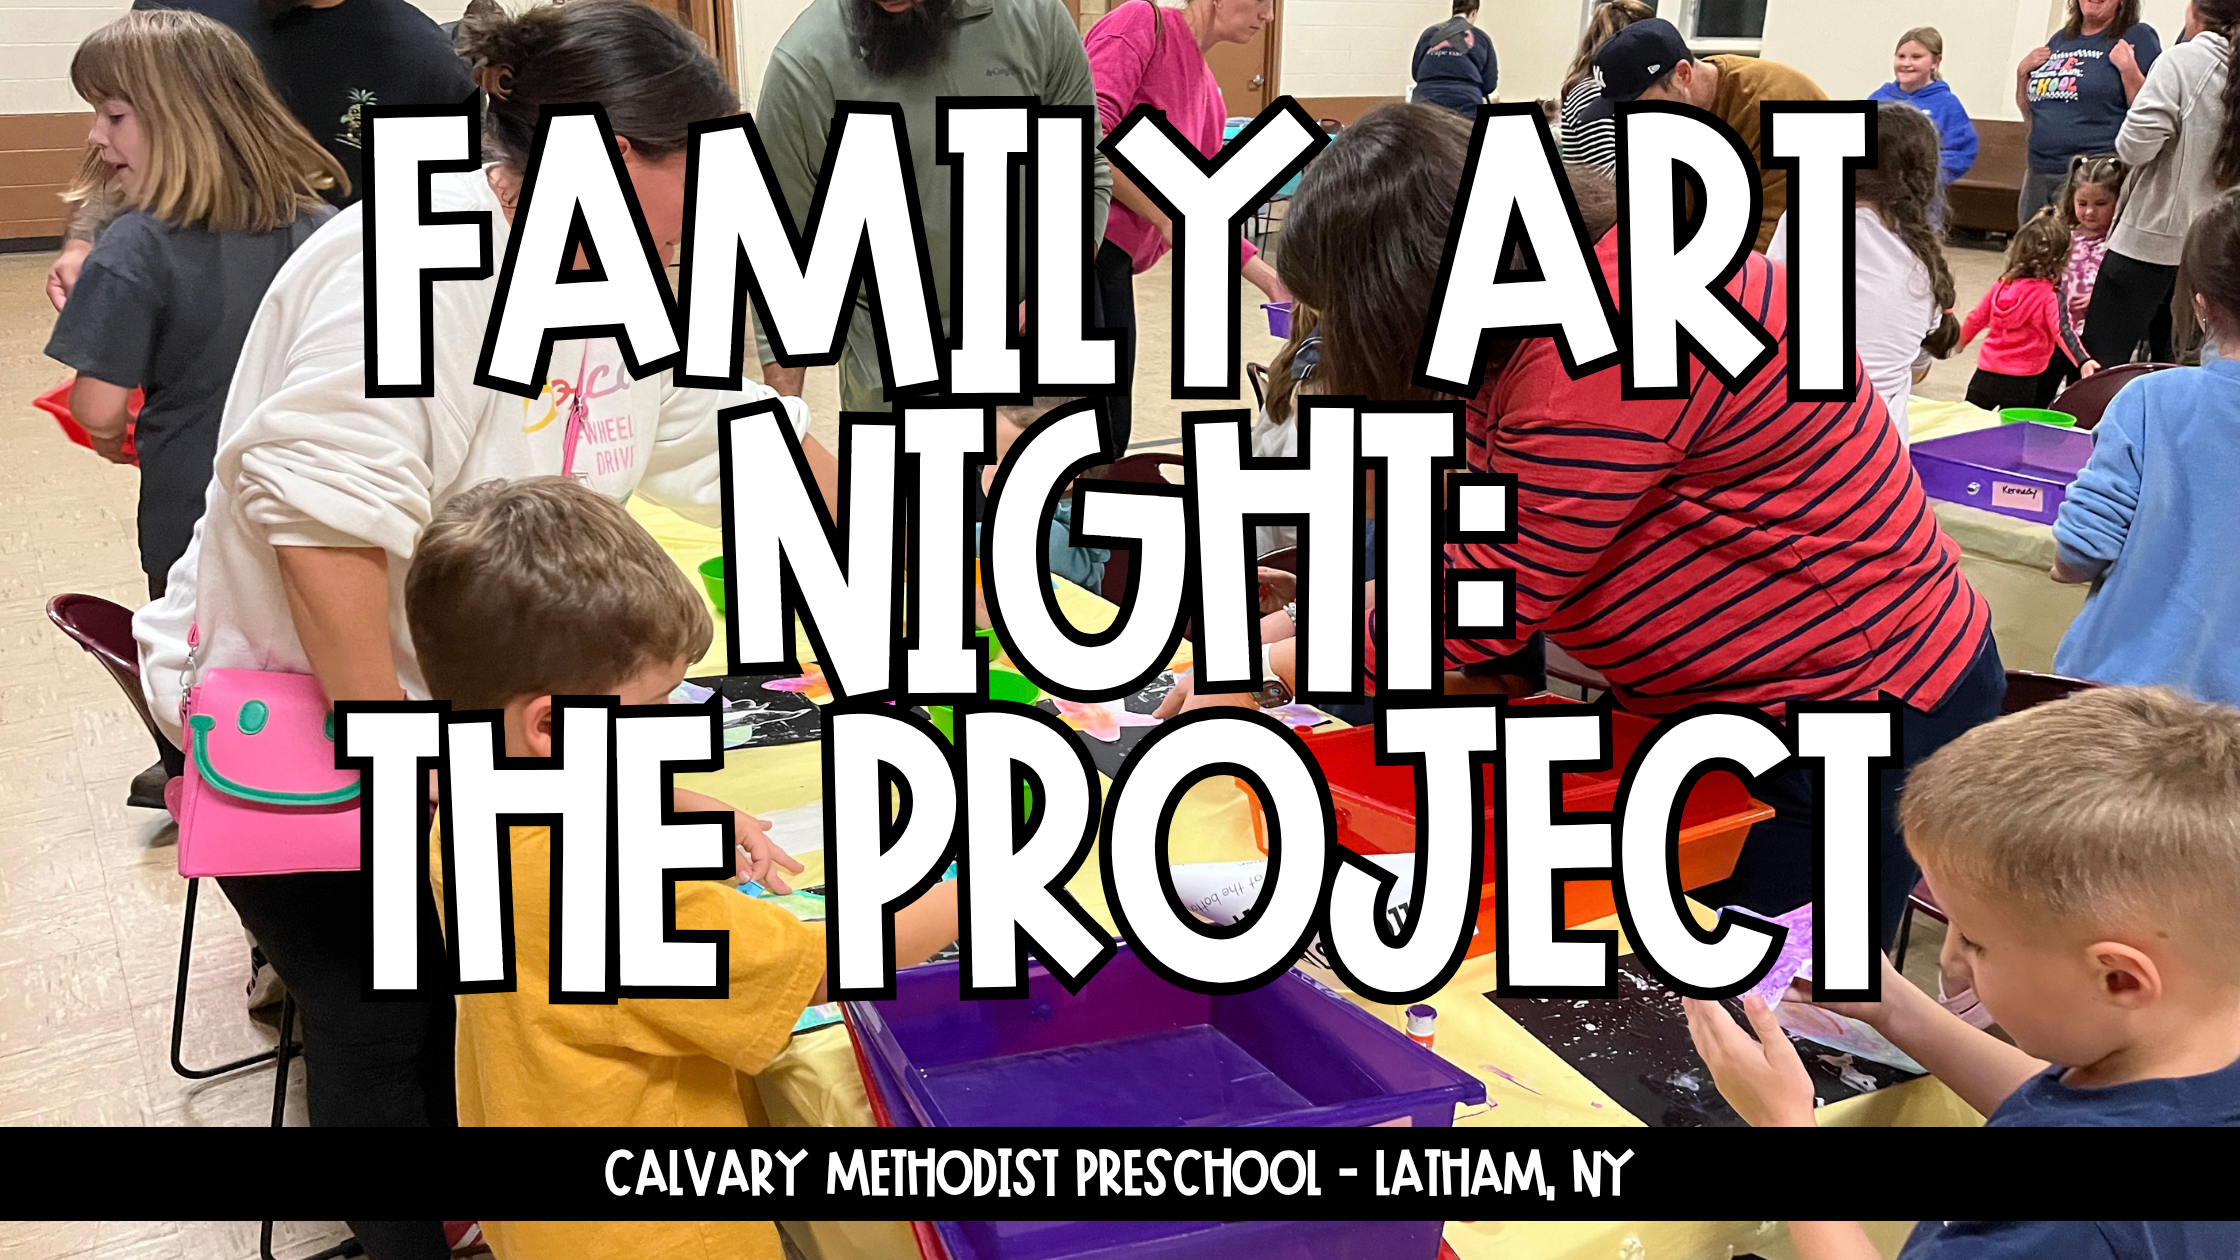
Last week, Calvary Methodist Preschool hosted its second annual Family Art Night. This event was dreamed up as a community-building event to bring together preschool families and church families. We had 13 current students, 10 former students, 4 future students, and 3 church families in attendance. Together, we created 38 beautiful pieces of art and, even more importantly, many wonderful memories.
Read on to learn more about our art project. Interested in hosting a Family Art Night at your school? Check out how we organized the event in this blog post!
This post contains affiliate links, meaning we earn a tiny commission when you use our links at no cost to you. Thank you for supporting Calvary Methodist Preschool.
The Starry Sky
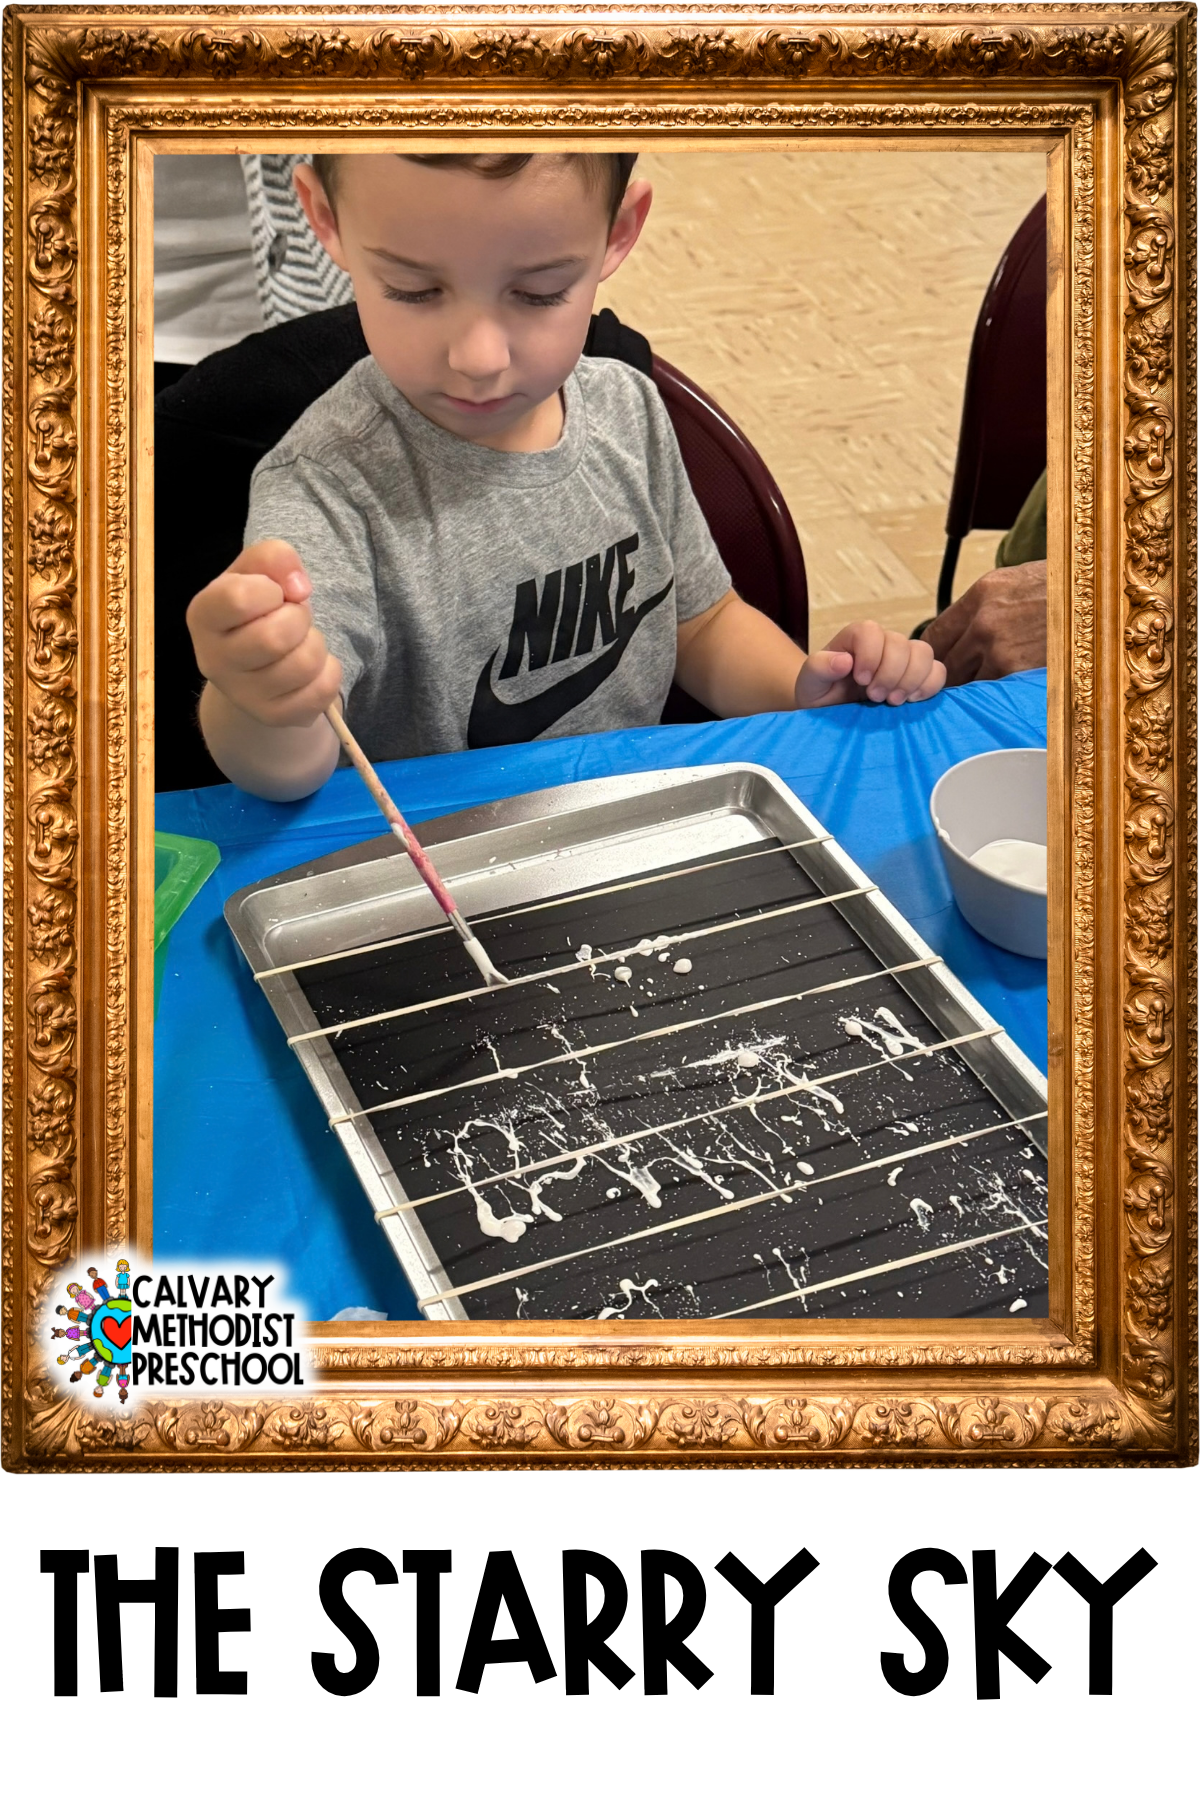
To create the starry sky background, we used a splatter-painting technique.
Supplies Needed:
- Baking sheet (we used ones from the dollar store)
- Rubber bands
- Black cardstock
- White washable paint (This will get messy—use washable paint!)
- Bowl
- Paintbrush
Helpful Supplies:
- Wet wipes
- Smock
To set up, stretch 5 or 6 rubber bands over the top three-quarters of the baking sheet. Pour a little bit of white paint into a bowl. Once everything is set up, slip the black cardstock onto the baking sheet, underneath the rubber bands.
Use the paintbrush to coat the rubber bands with white paint. Don’t worry if some paint drips onto the cardstock—it will just become an extra-bright star! Gently pluck or strum the rubber bands. The paint will splatter everywhere, including onto the paper, creating a starry-sky effect.
When you remove the black paper from the baking sheet, be careful not to let the paper scrape against the rubber bands. Set your starry sky aside to dry.
Helpful hint: Wait for the paint to dry completely before taking the rubber bands off the baking sheet.
THIS is our favorite washable paint!
The Star
We used bleeding tissue paper to create a colorful star.
Supplies Needed:
- Star cutout (white cardstock)
- Bleeding tissue paper (This is the one we used.)
- Cup of water
- Paintbrush
- Spray bottle
- Paper towels
- Tray to catch water
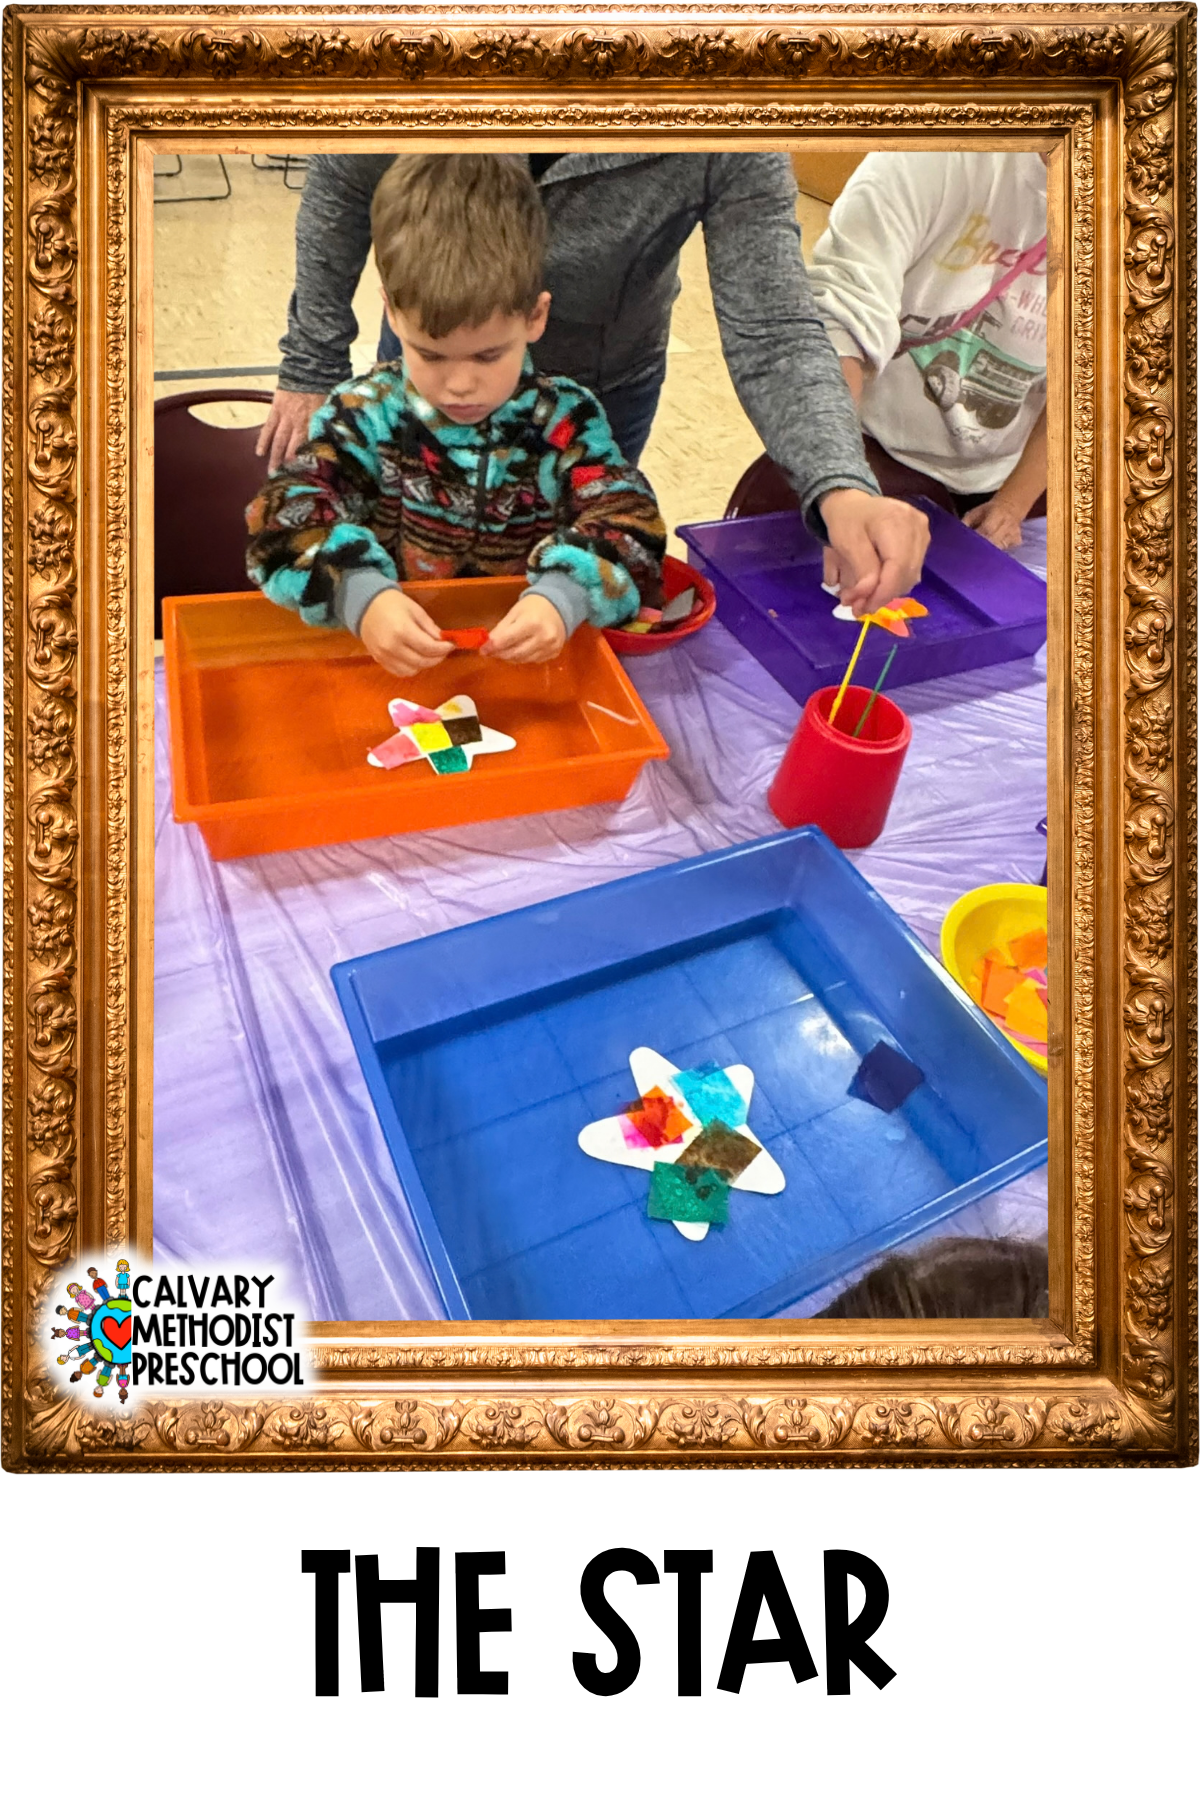
First, cut a star out of white cardstock. Save the remaining cardstock—you will need it for the planet. Place the star inside the tray and paint a light coat of water onto the star using a paintbrush. You do not need a lot of water at this step, just enough to help the tissue paper stick to the paper.
Next, start placing squares of bleeding tissue paper over the star. Cover all of the white areas, but try not to overlap the tissue paper too much. Once the star is covered, use the spray bottle to dampen the tissue paper from the top. This will cause the ink from the tissue paper to bleed through onto the star.
The number of sprays you need will depend on your spray bottle, but make sure the tissue paper is wet without becoming soaking wet! Give the ink about 30 seconds to bleed through, then dab everything dry with a paper towel.
Gently peel the tissue paper off the star, then take the star out of the tray. Set the star aside on a clean sheet of paper towel to dry.
Find the bleeding tissue paper we used HERE.
The Planet
To create a swirly planet, we used oil pastels and liquid watercolors.
Supplies Needed:
- Planet cutout (white cardstock)
- Oil pastels (light colors)
- Liquid watercolors (dark colors)
- Cups
- Paintbrushes
- Paper towels
To make the planet cutout, use a large plate or bowl to trace and cut out an arch at one end of a piece of white cardstock. The piece you cut for the star works perfectly!
Before you begin, add some liquid watercolor to cups of water. We used darker colors for the watercolor—green, blue, and purple. These created a nice contrast with the lighter colors we chose for the oil pastels—white, silver, yellow, and light green.
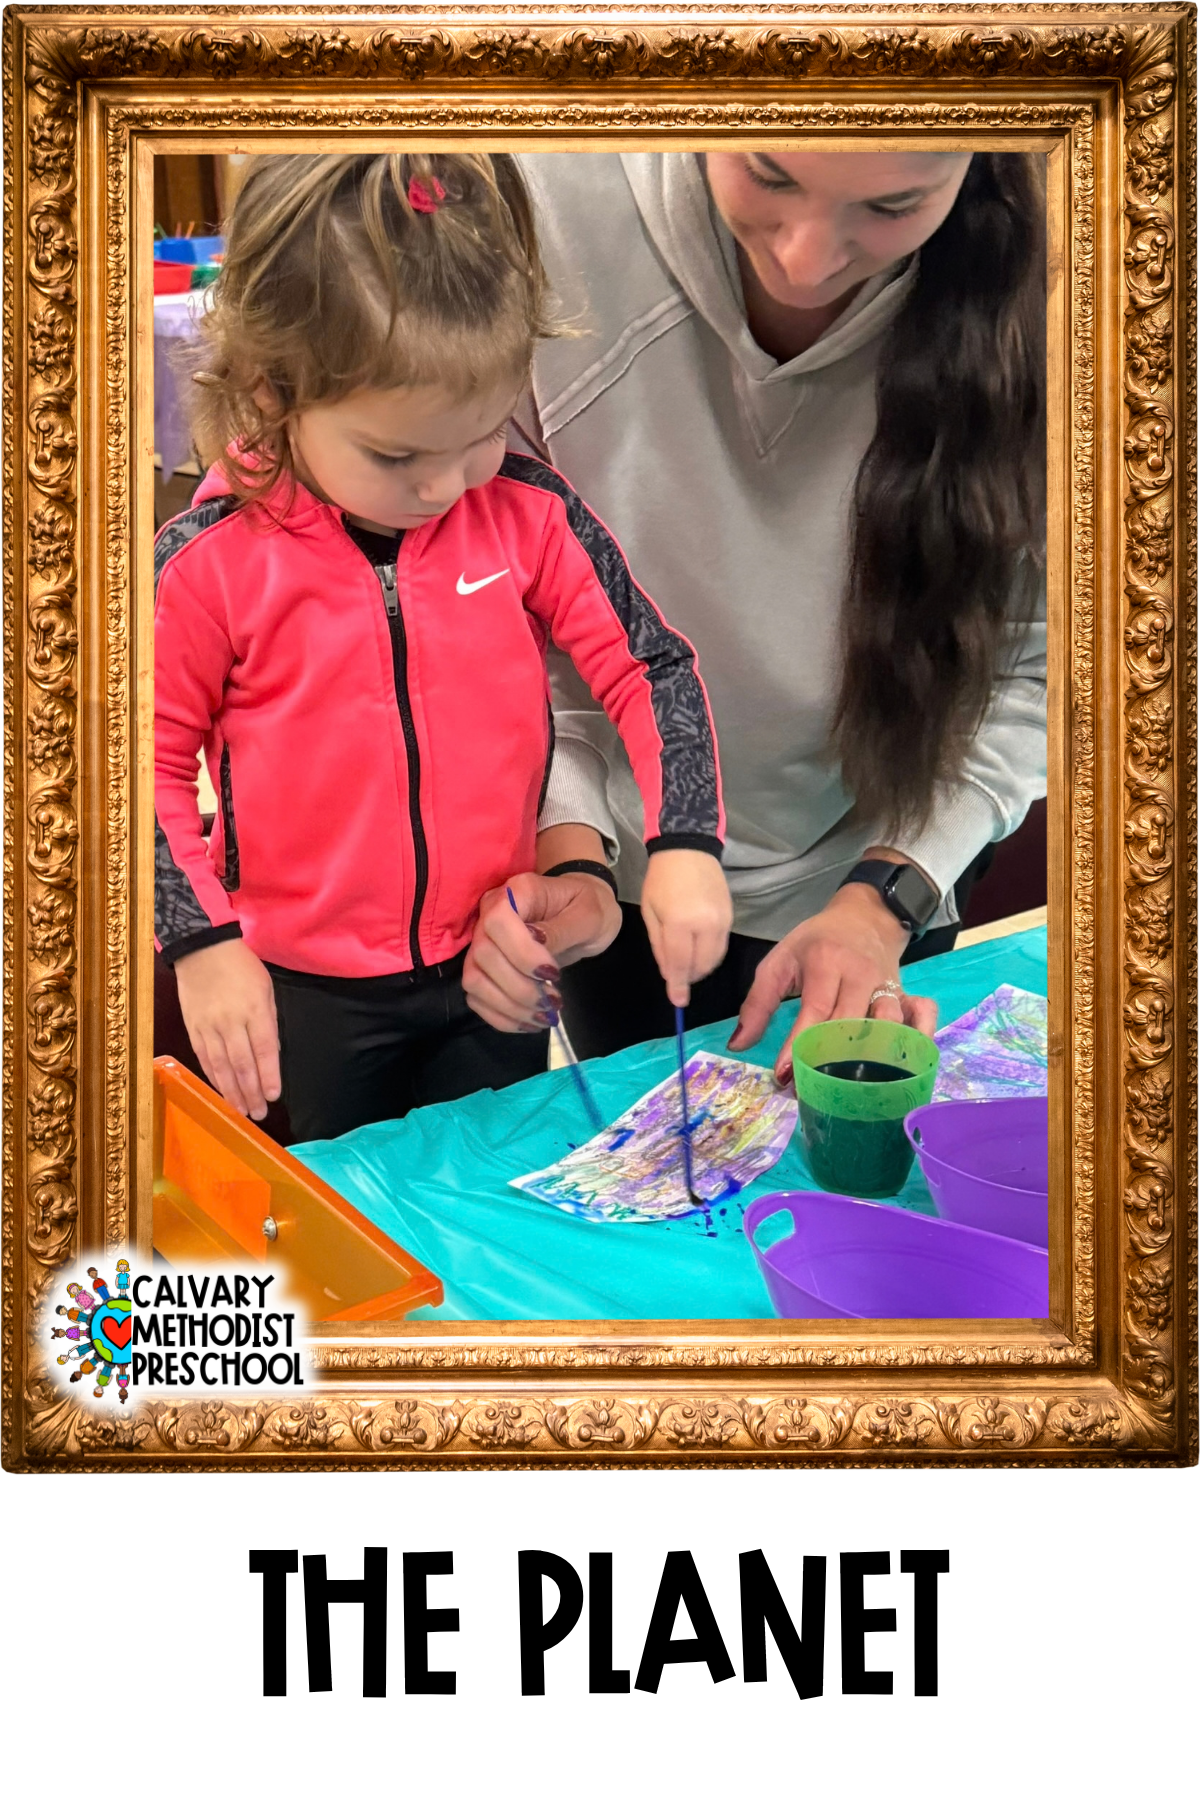
Start by drawing with the oil pastels on the planet cutout. To leave behind a solid line of color, you may need to press a little harder than usual or go over each line multiple times. You do not want to completely cover the planet, but evenly distributed swirls and twirls will create a unique look.
Once you are happy with your oil pastel design, place the planet on a sheet of paper towel and start brushing the liquid watercolor over it. Notice how the oil pastels repel the liquid watercolor. This time, you do want to cover the entire planet with color.
Once you are finished, dab everything dry with a paper towel and set the planet aside to dry.
Put It All Together
Now it’s time to put it all together!
Supplies Needed:
- The starry sky
- The star
- The planet
- Photo cutout
- “Reach for the Stars” word cutouts
- Glue stick
While you are waiting for all of the projects to dry, take a photo of the artist from behind while they are looking and pointing up. Use a photo editor or app (Canva is what we used) to remove the background and resize the photo to fit between the planet and the star.
We decided to use black-and-white photos, but you could use color if you’d like.
Print and cut out the photo. Then, print and cut out the words “Reach for the Stars.”
Once all of the pieces are ready, it’s time to start gluing!
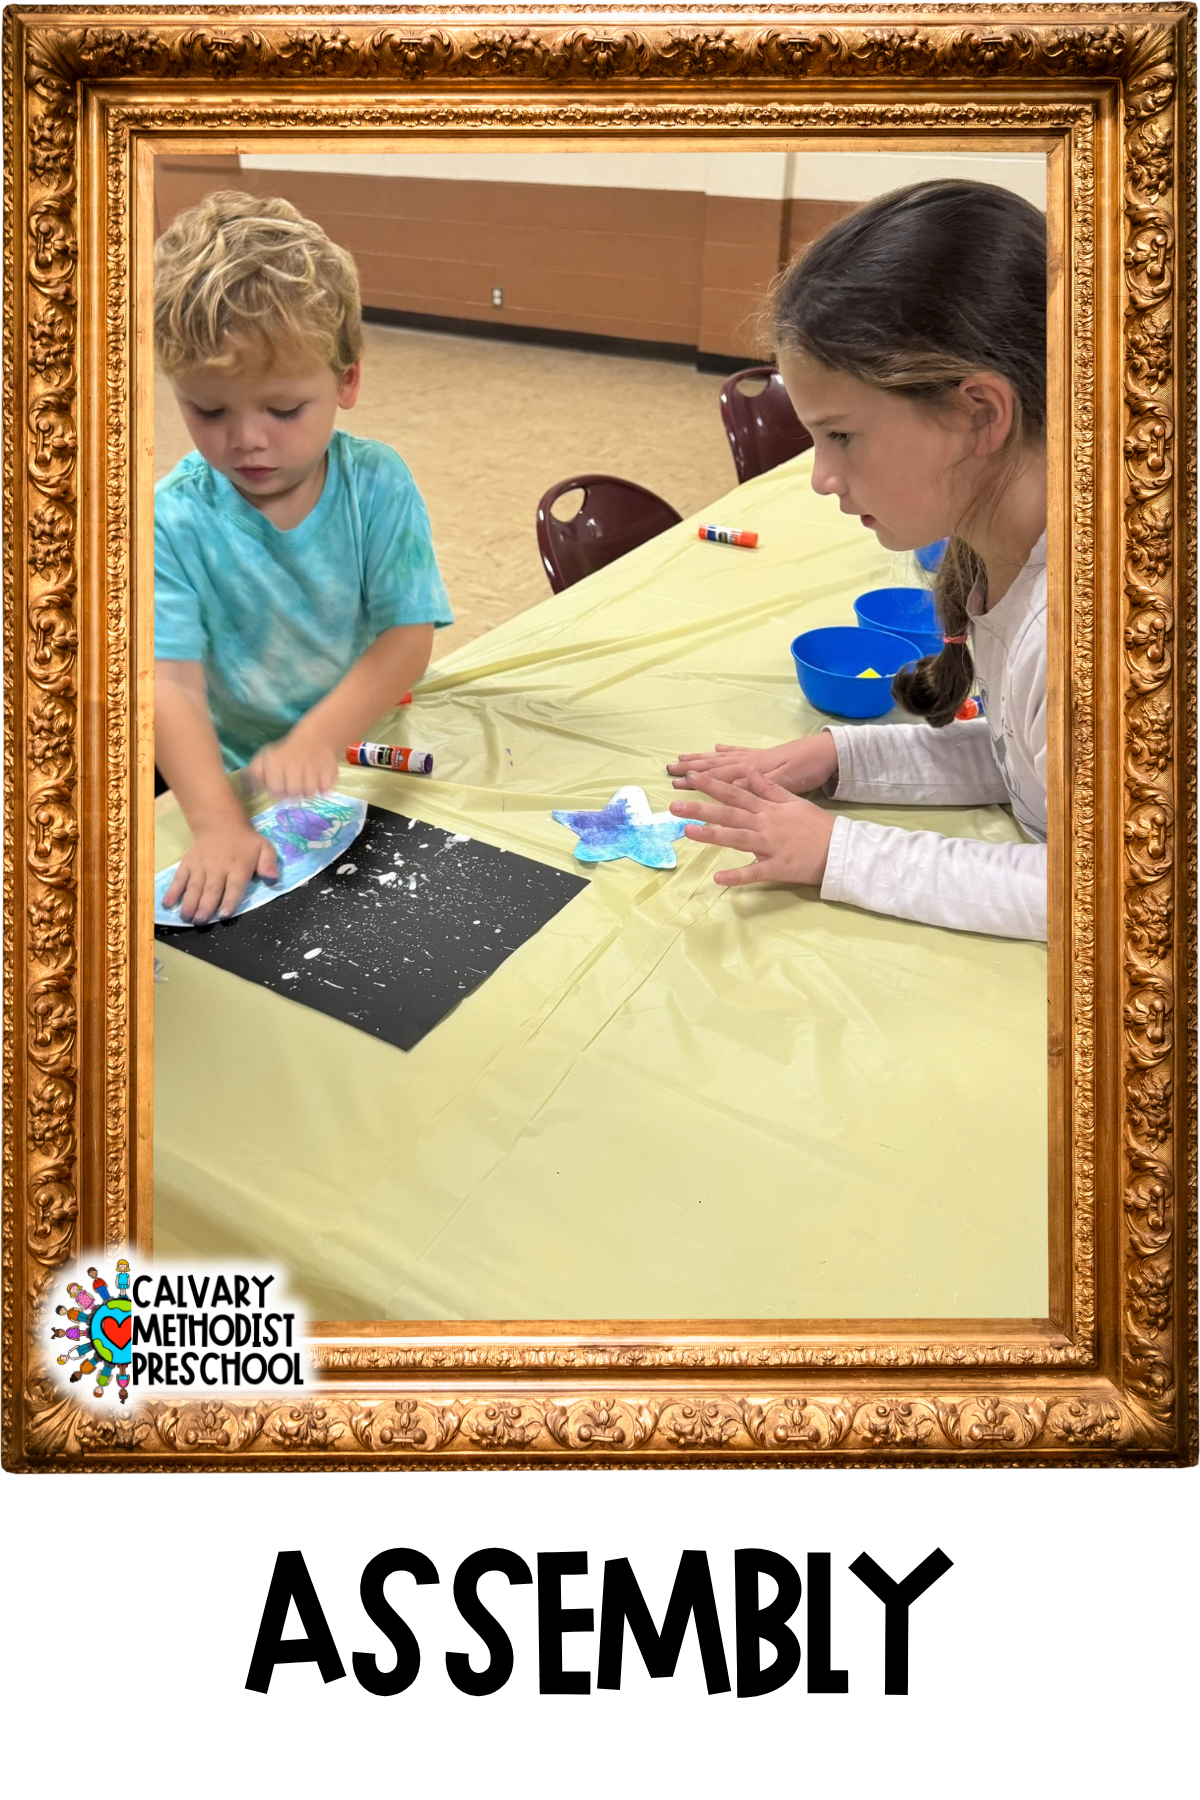
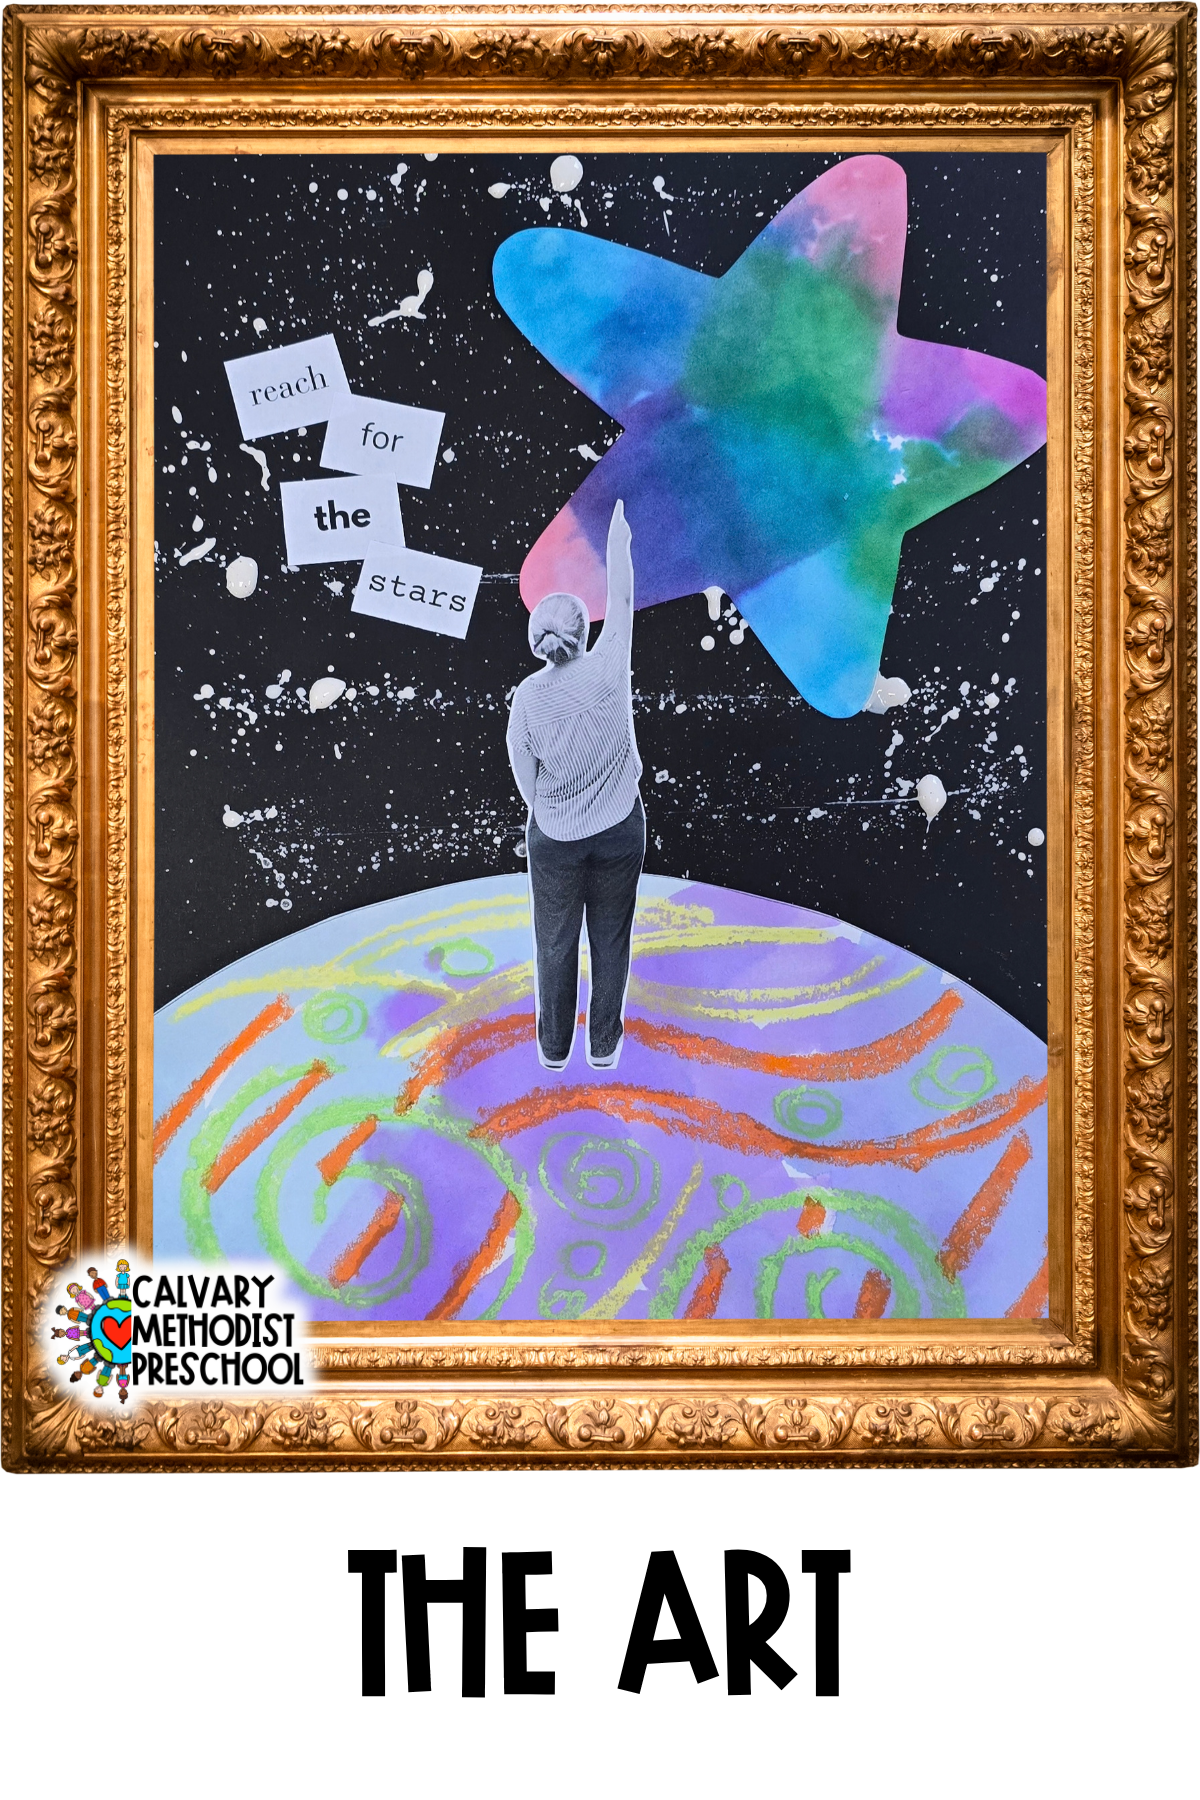
Glue the planet to the bottom of the starry sky. Then, glue the star into the top corner of the sky. Pay attention to which direction your artist is pointing in the photo, and place the star in the corner that matches.
Next, glue the photo onto the sky, positioning it so that the artist’s feet are on the planet and their hands are reaching toward the star. Finally, glue the words into the empty space.
And There You Have It!
And there you have it—a beautiful, personalized piece of art that captures a special moment and gives each child something they can be proud of.
Our Family Art Night was a wonderful opportunity to bring our preschool and church communities together, get creative, and make memories as a family. We loved seeing how each artist put their own spin on the project, and we hope this project inspires you to gather your families and create something special together!
Happy creating!