
Family Art Night – The Event
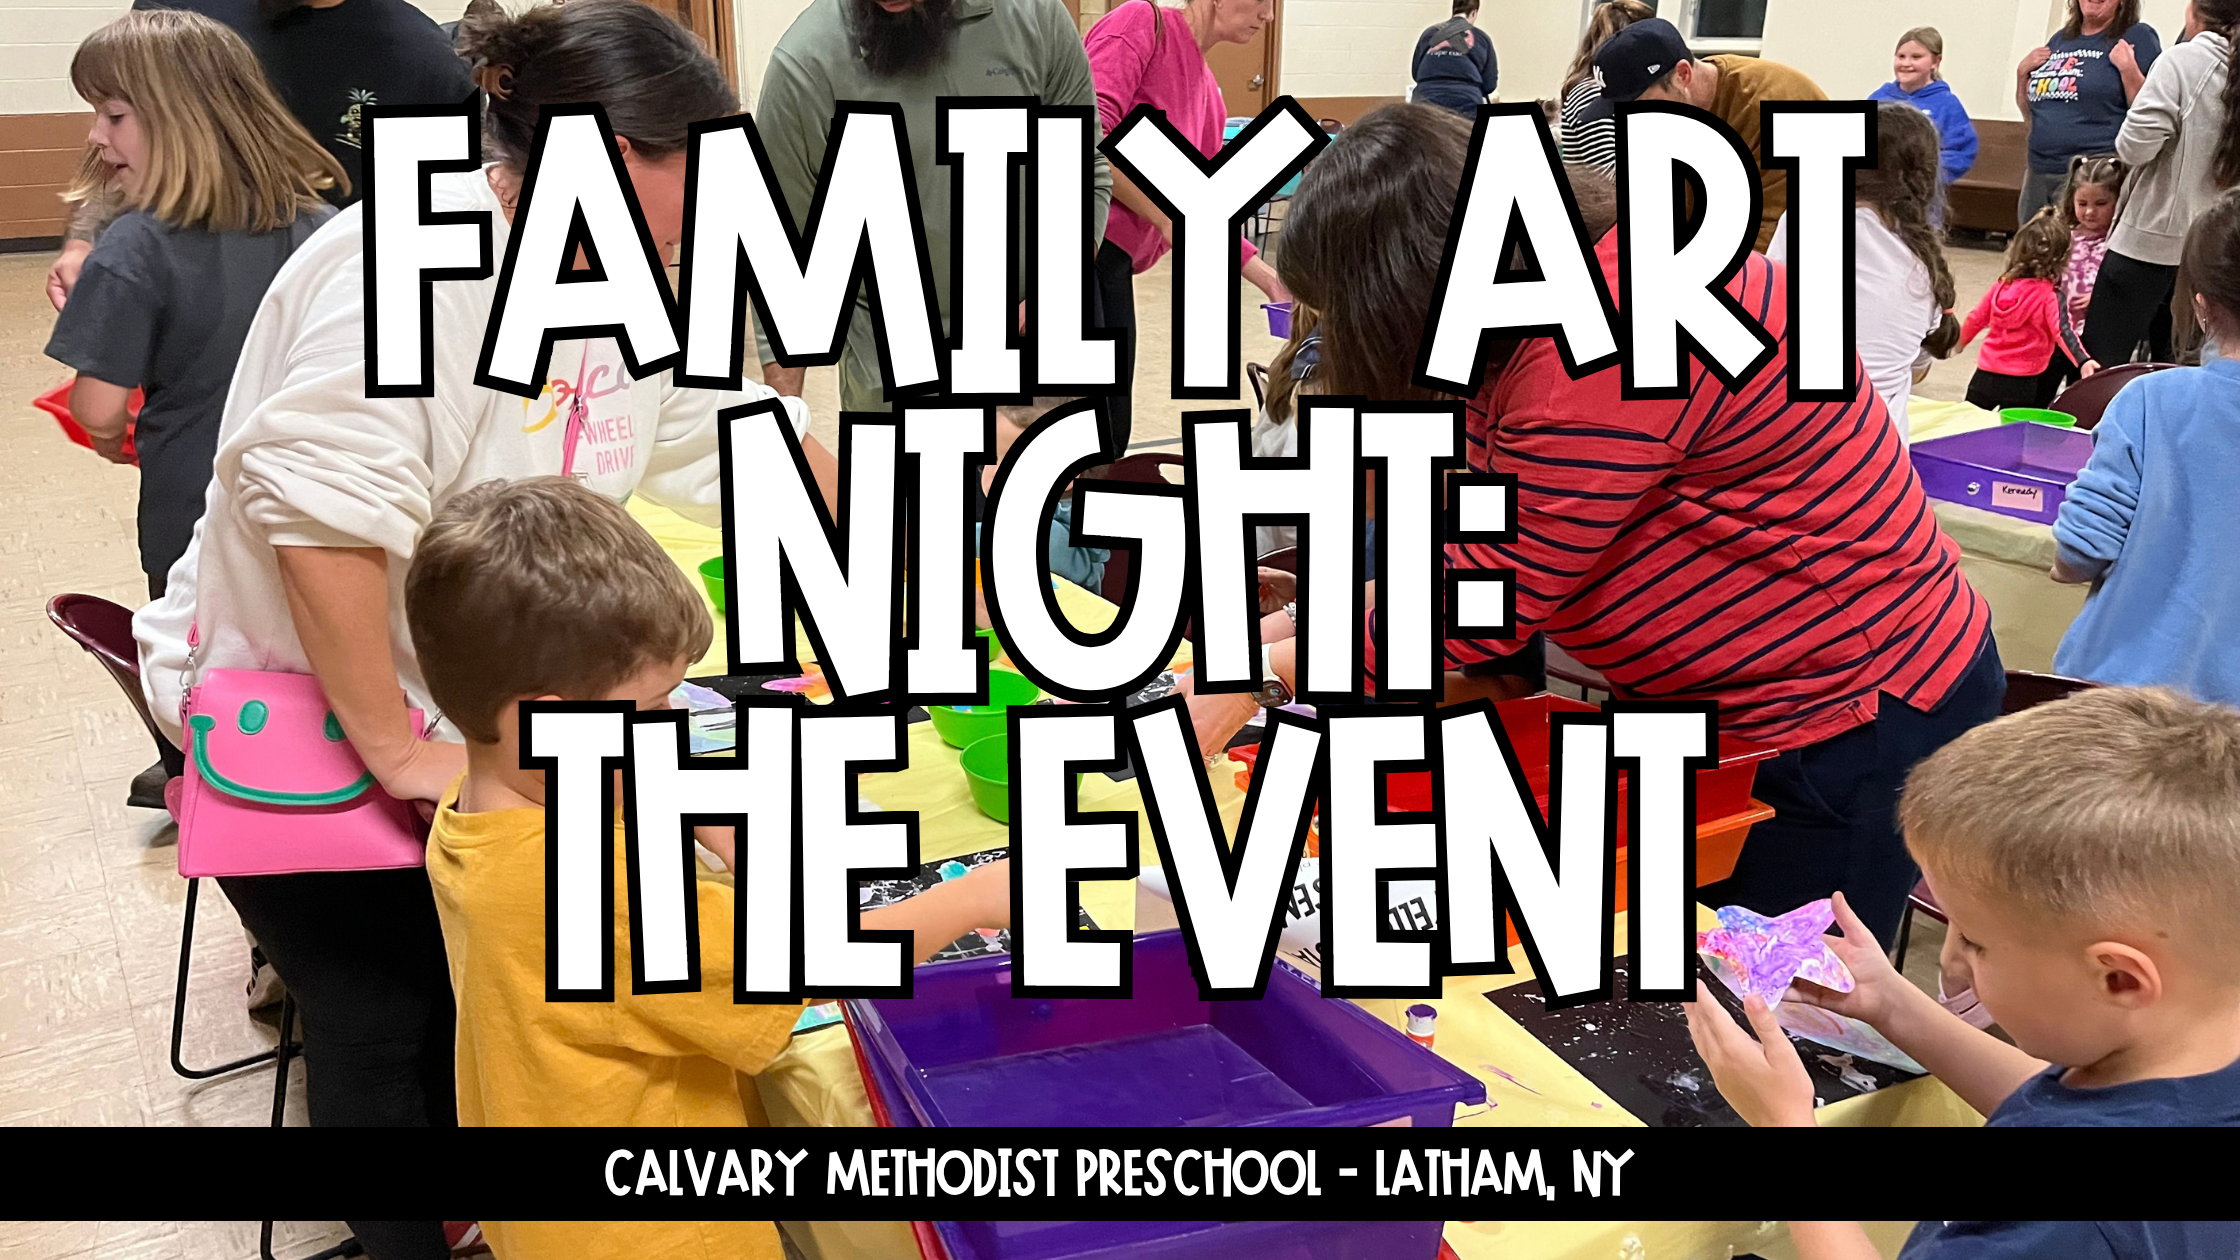
Last week, Calvary Methodist Preschool hosted its second annual Family Art Night. This event was dreamed up as a community-building event to bring together preschool families and church families. We had 13 current students, 10 former students, 4 future students, and 3 church families in attendance. Together, we created 38 beautiful pieces of art and, even more importantly, many wonderful memories.
Read on to learn more about how we organized and ran our event. Interested in creating our project? Find the instructions in this blog post.
This post contains affiliate links, meaning we earn a tiny commission when you use our links at no cost to you. Thank you for supporting Calvary Methodist Preschool.
1 Month Before the Event
The first thing on your event to-do list is identifying when and where you will host your event. Our location was the church’s Fellowship Hall, but at your school, you may want to use a gymnasium or cafeteria.
Pick a date that works best for your location and volunteers. We hosted our art night on a Monday from 6:00–7:00 p.m.
While you are working on a time and place, start hunting around for an appropriate project. I knew I wanted something personalized—using handprints or a photo. I also wanted a project that had multiple steps that could be completed and ready to assemble within 30 minutes. I found a lot of inspiration on Pinterest and adjusted the ideas to meet our needs.
Once you have the time and place and have decided on a project, share the event with your target participants. I created a flyer to send home and a Google Form sign-up so that families could RSVP. The flyer, a sample project, and a QR code to RSVP were displayed on our information board for the weeks leading up to the event.
The Week of the Event
Start gathering your materials. If there are any pieces of your project that need to be cut out ahead of time, do that now. Make sure to prepare extras of all the pieces in case you have last-minute participants or someone needs a redo.
If your project requires a photo, either ask families to bring one from home or take one at school.
Make sure you have enough help for the event as well. Even though students will be coming with their parents, it is a good idea to have adult volunteers at each station who know how to complete that part of the project. They can help answer questions and give tips.
The Night of the Event
We used our student mailboxes to organize each participant’s supplies. We set up tables for each piece of the project, using different-colored tablecloths to differentiate each station.
Place a copy of the directions for each station on the table at that station. We used tabletop stands so the directions would stay visible and wouldn’t get messy with the art projects.
Each station had one or two volunteers to help with directions and clean-up between participants.
When families arrived at the event, they were given their mailbox bin with all of their project pieces. They carried those bins from station to station to keep all of their supplies together.
It did not matter which order they completed each station or step of the project. This meant that if one station was full, they did not need to wait for space. They could work on another piece and come back when the station was available.
The final station was the assembly station, where all the pieces were put together. Because we were collecting our projects to use for a fundraiser, participants put their final projects back in their bins and returned the bins to the stack of drawers.
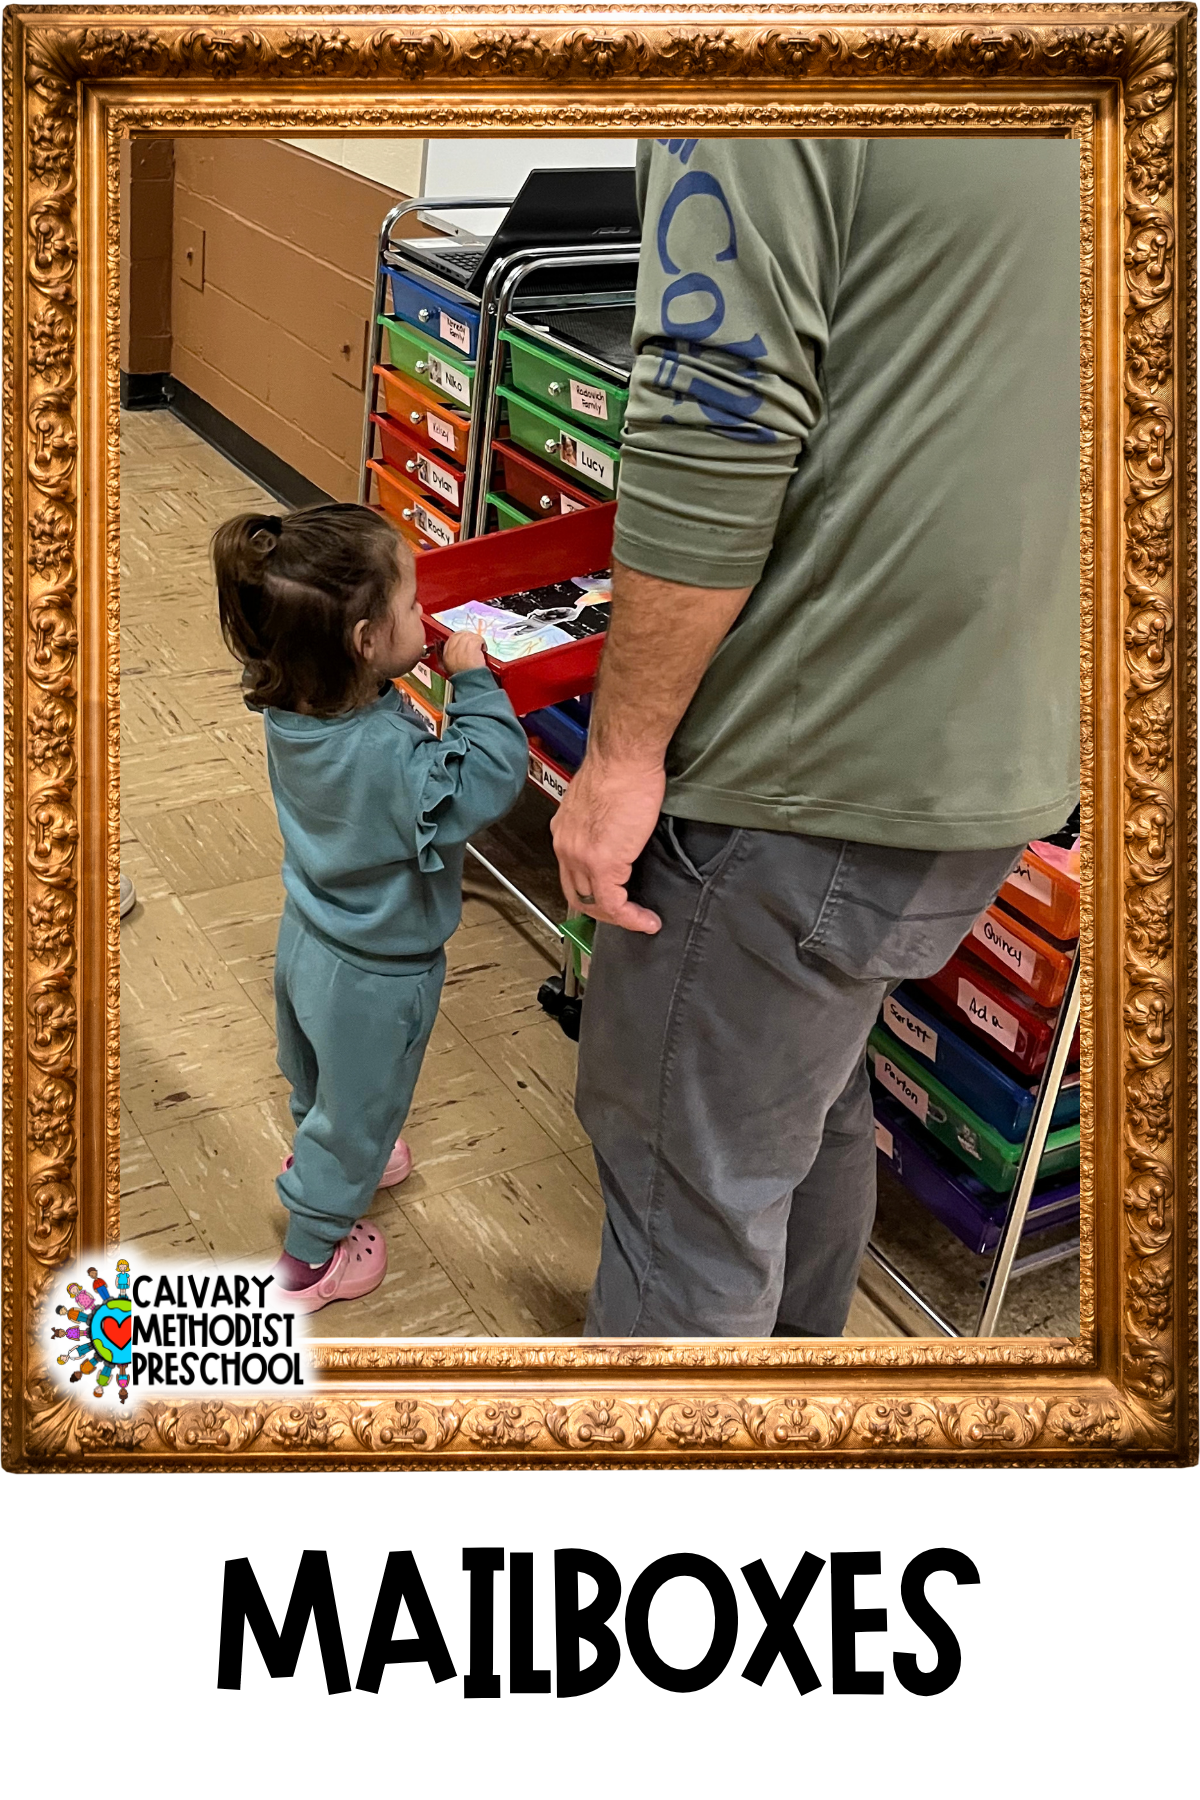
We use THESE DRAWERS as student mailboxes
Family Art Night was a wonderful way to bring our preschool and church communities together while giving families the opportunity to create something special. With a little planning and preparation, you can create an evening that is fun, organized, and meaningful for everyone involved. Don’t worry about making everything perfect—the goal is to give families a chance to spend time together, be creative, and make memories. We hope these tips inspire you to try a Family Art Night of your own!