
Process Art with Paint: 7 Fun Ways to Explore and Create
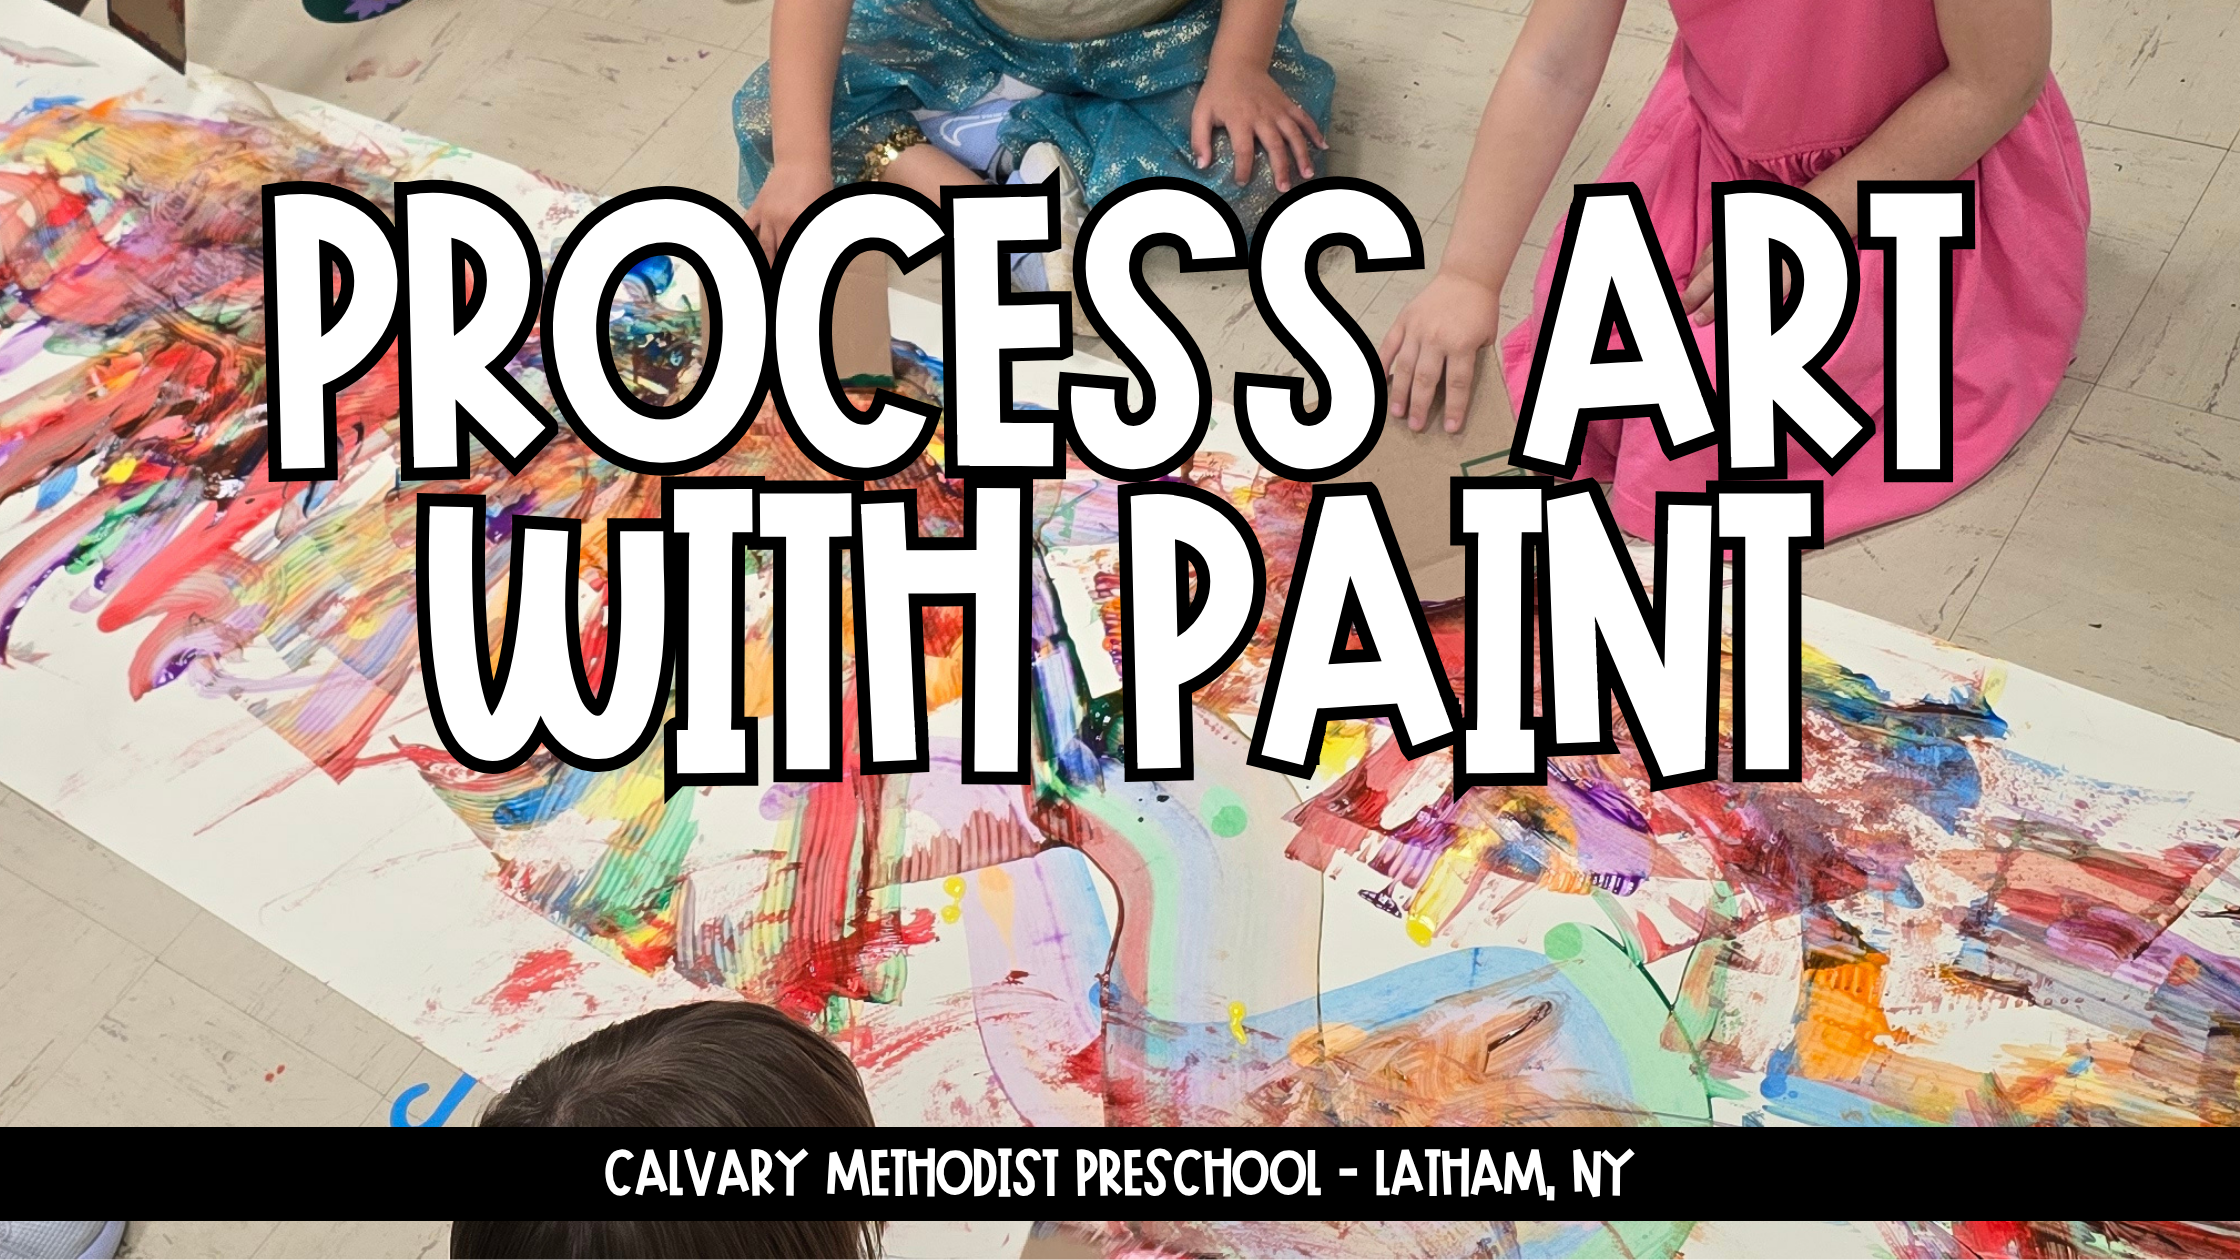
We love project time at Calvary Methodist Preschool! Throughout the year, we try to incorporate a variety of process art techniques. With process art, the experience of creating is more important than the finished product. It encourages children to explore, experiment, and get creative without worrying about getting anything wrong.
Paint is an especially intriguing material for young artists. When you pair it with unexpected objects, like marbles, rubber bands, or toy cars, children can’t wait to jump in and start experimenting!
Read on to discover some of our favorite process art techniques that use paint. Each activity can be done with materials you most likely already have around the house.
Helpful hint: If you’re using multiple colors for any of these activities, choose colors that mix well together. Otherwise, your artwork may end up looking a little “muddy.” We like to use two primary colors (red, yellow, or blue), warm colors (red, orange, and yellow), or cool colors (blue and purple).
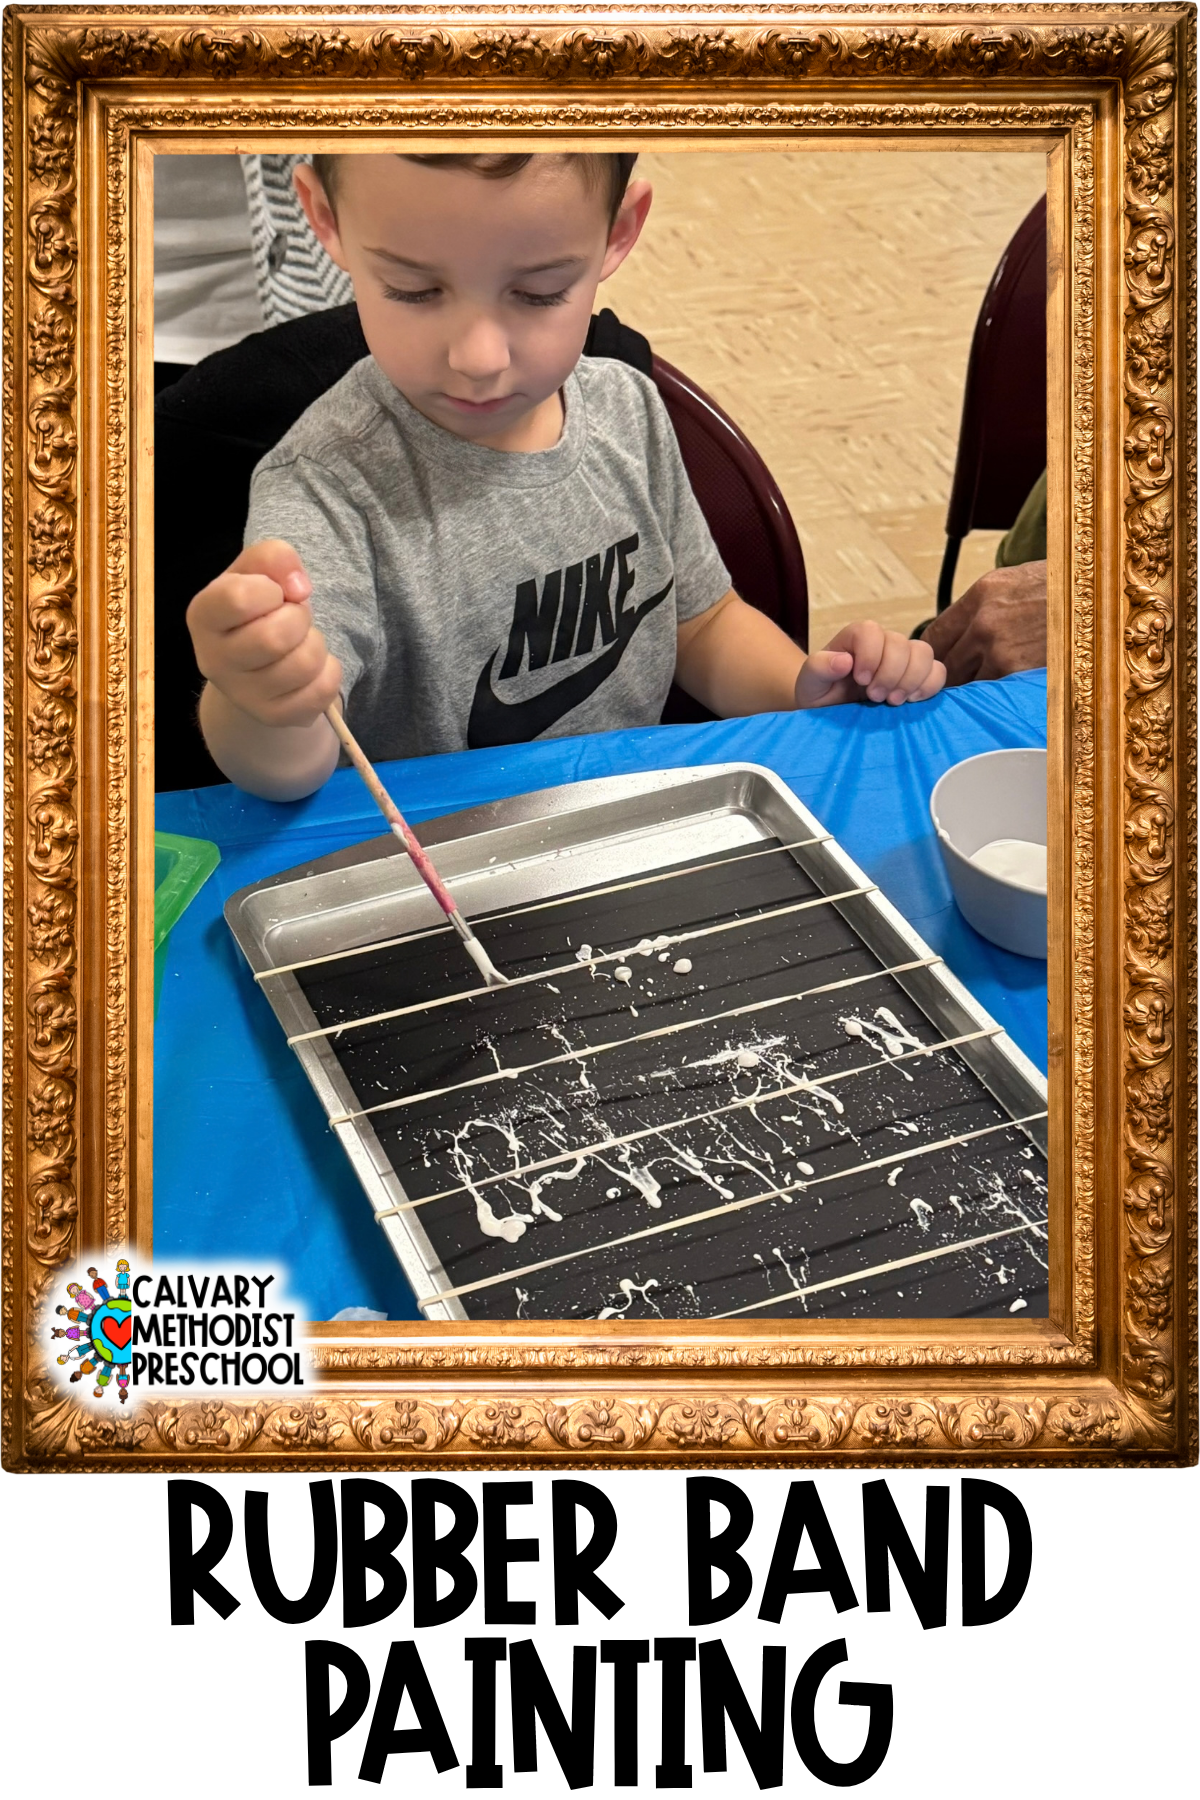
1. Rubber Band Painting
Rubber band painting is lots of fun (prepare for giggles!), but it can also be messy (prepare for cleanup!). We used this technique at our most recent Family Art Night, and I think it may have been everyone’s favorite station of the evening.
Rubber band painting is a fantastic process art activity that helps children explore cause and effect while practicing their fine motor skills.
What you’ll need: A tray or baking sheet, paper, rubber bands, and paint.
How to do it: Stretch five or six rubber bands around your tray or baking sheet, then slip a piece of paper underneath them. Now it’s time to add paint!
There are a couple of ways to do this. You can drip paint directly onto the paper, then shift the paper up or down so the paint sits underneath the rubber bands. When children pluck the rubber bands, they hit the paint and cause it to splatter across the paper.
Another option is to use a paintbrush to apply paint directly to the rubber bands. Even a gentle strum can send paint splattering, while a more forceful pluck may create a different effect.
Encourage children to experiment! What happens when they use rubber bands of different widths? Is there a difference between strumming and plucking? Let them test their ideas and see what happens.
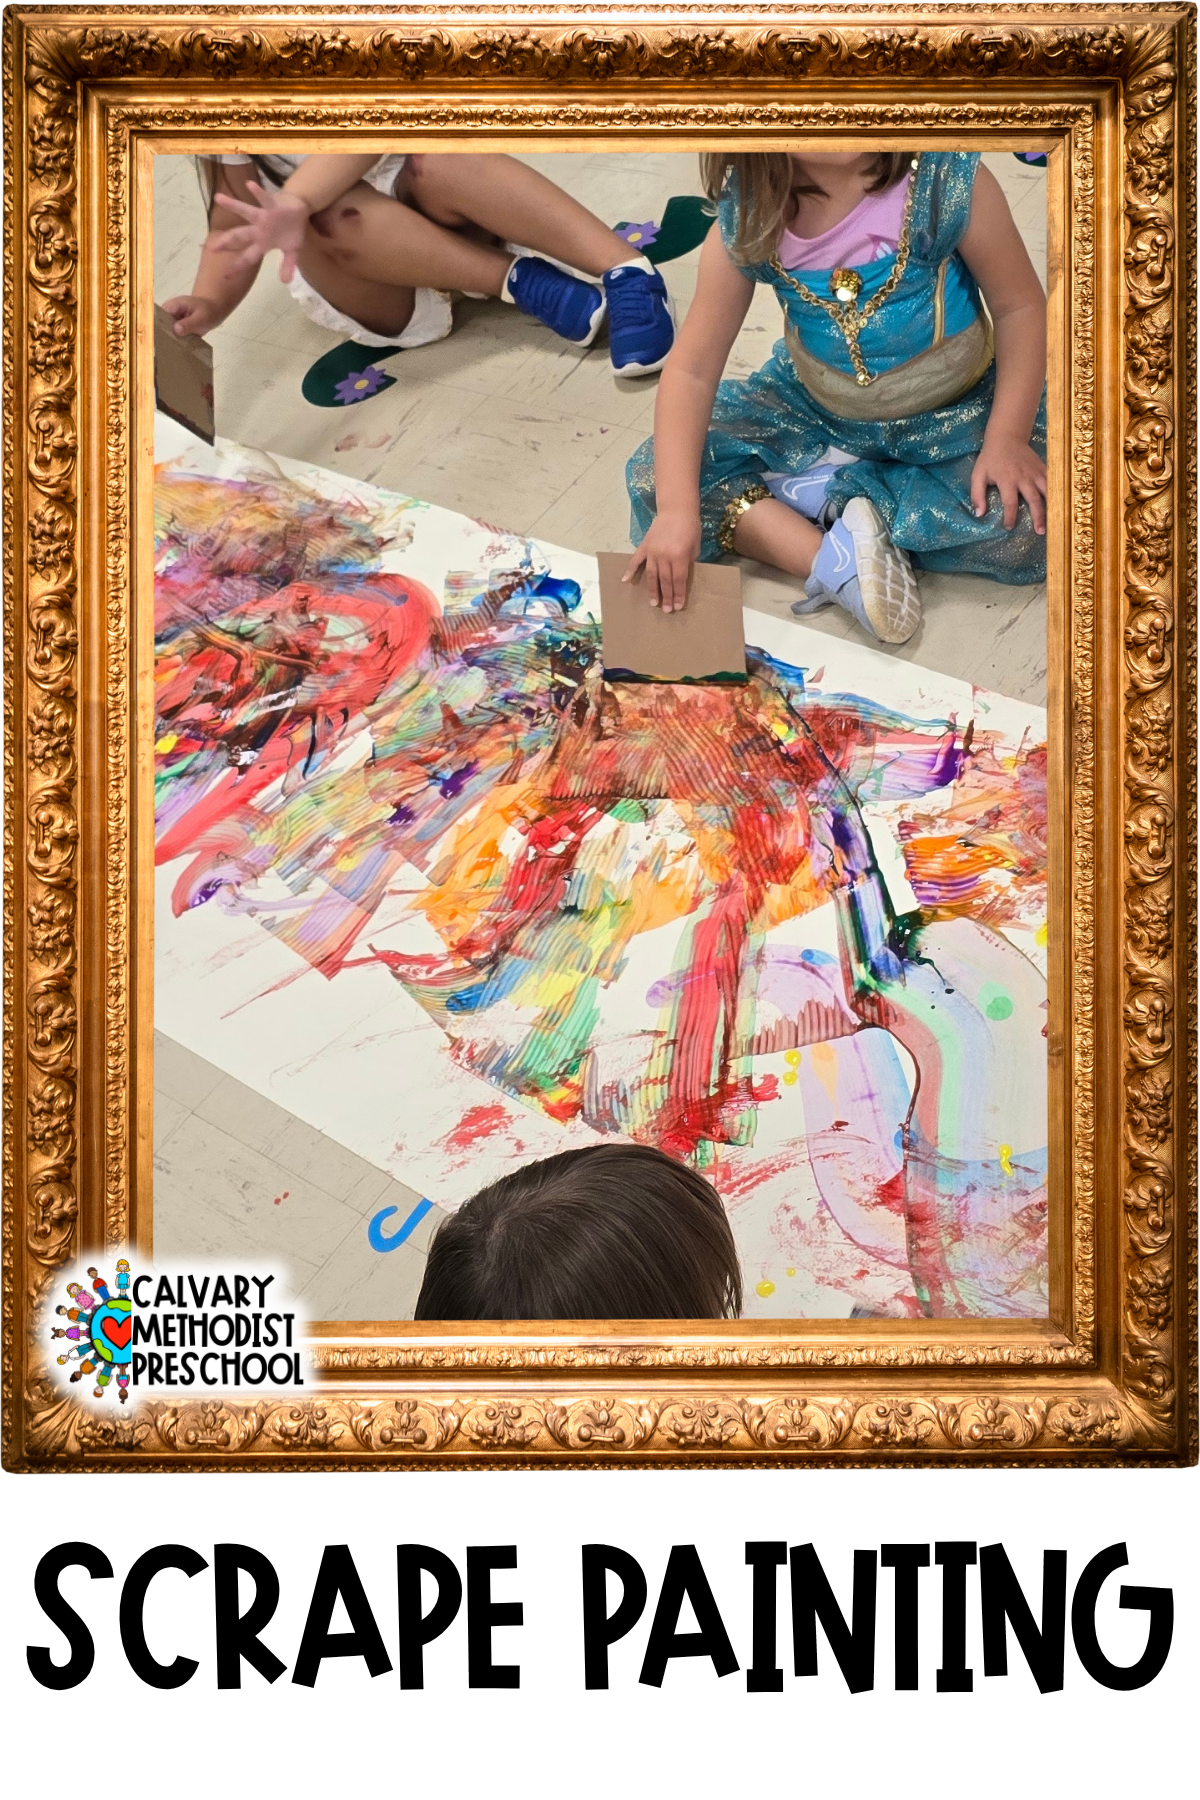
2. Scrape Painting
The idea behind scrape painting is simple: use a flat object to push and pull paint across a piece of paper. But while the process may be simple, there’s a lot of learning happening along the way! This technique encourages young artists to explore colors, textures, movement, and the effects of their choices.
What you’ll need: Paper, paint, and scrapers.
For the paper, choose something thicker than typical printer paper. Cardstock or butcher paper works well. You can also decide whether you want to create a small piece of art or go big with a larger sheet.
For paint, I always recommend washable paint. Children may get messy, and that’s OK!
Your scrapers can be almost anything with a flat edge. We’ve used squeegees, old gift cards, tongue depressors, and even pieces of cardboard.
How to do it: Add paint directly to the paper, apply it to the edge of a scraper, or put it onto a tray for children to pick up with their tools. Then let them explore pushing and pulling the paint across the paper.
What happens when they scrape in one direction instead of another? What do they notice when two colors meet? There’s no need to demonstrate a particular technique or aim for a specific result. Just let children experiment and discover what their tools can do!
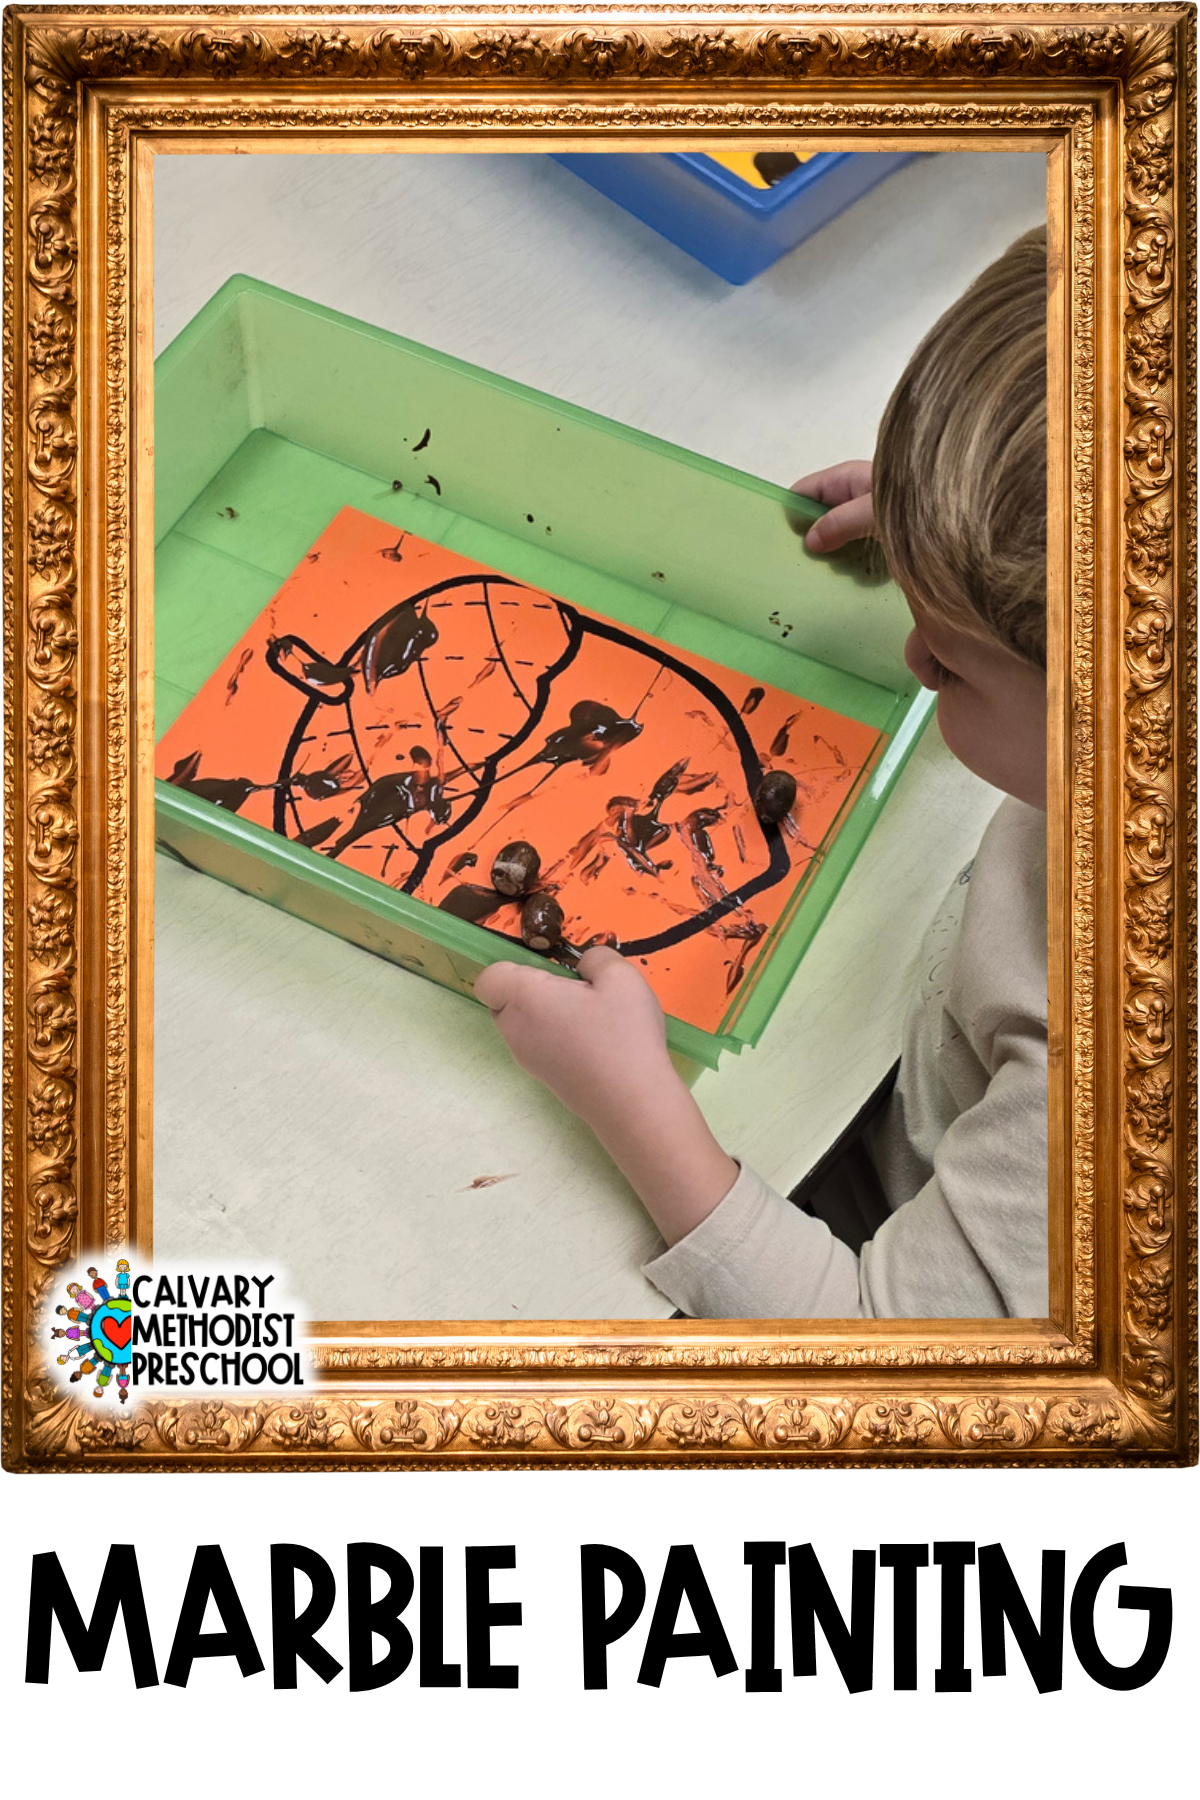
3. Marble Painting
Marble painting is a fantastic process art technique, and it’s so easy to set up! This activity gets children moving as they create, and it will probably inspire a few giggles, too.
What you’ll need: Paper, paint, marbles, and a tray with raised edges. The lid of a copy paper box works especially well because you won’t have to worry about washing it when you’re done.
How to do it: Place a piece of paper inside the tray and squirt a few drops of paint onto it. Add the marbles, then gently tilt and shake the tray to get them rolling!
Encourage children to notice what happens when they move the tray quickly or slowly. What happens when they tilt it in different directions? You can even add music and invite them to move the tray to the beat.
As the marbles roll through the paint, they leave behind colorful trails that cross and overlap. Once the painting is dry, you’ll have a unique piece of abstract art! Display it as is, or save it to use in another art project.
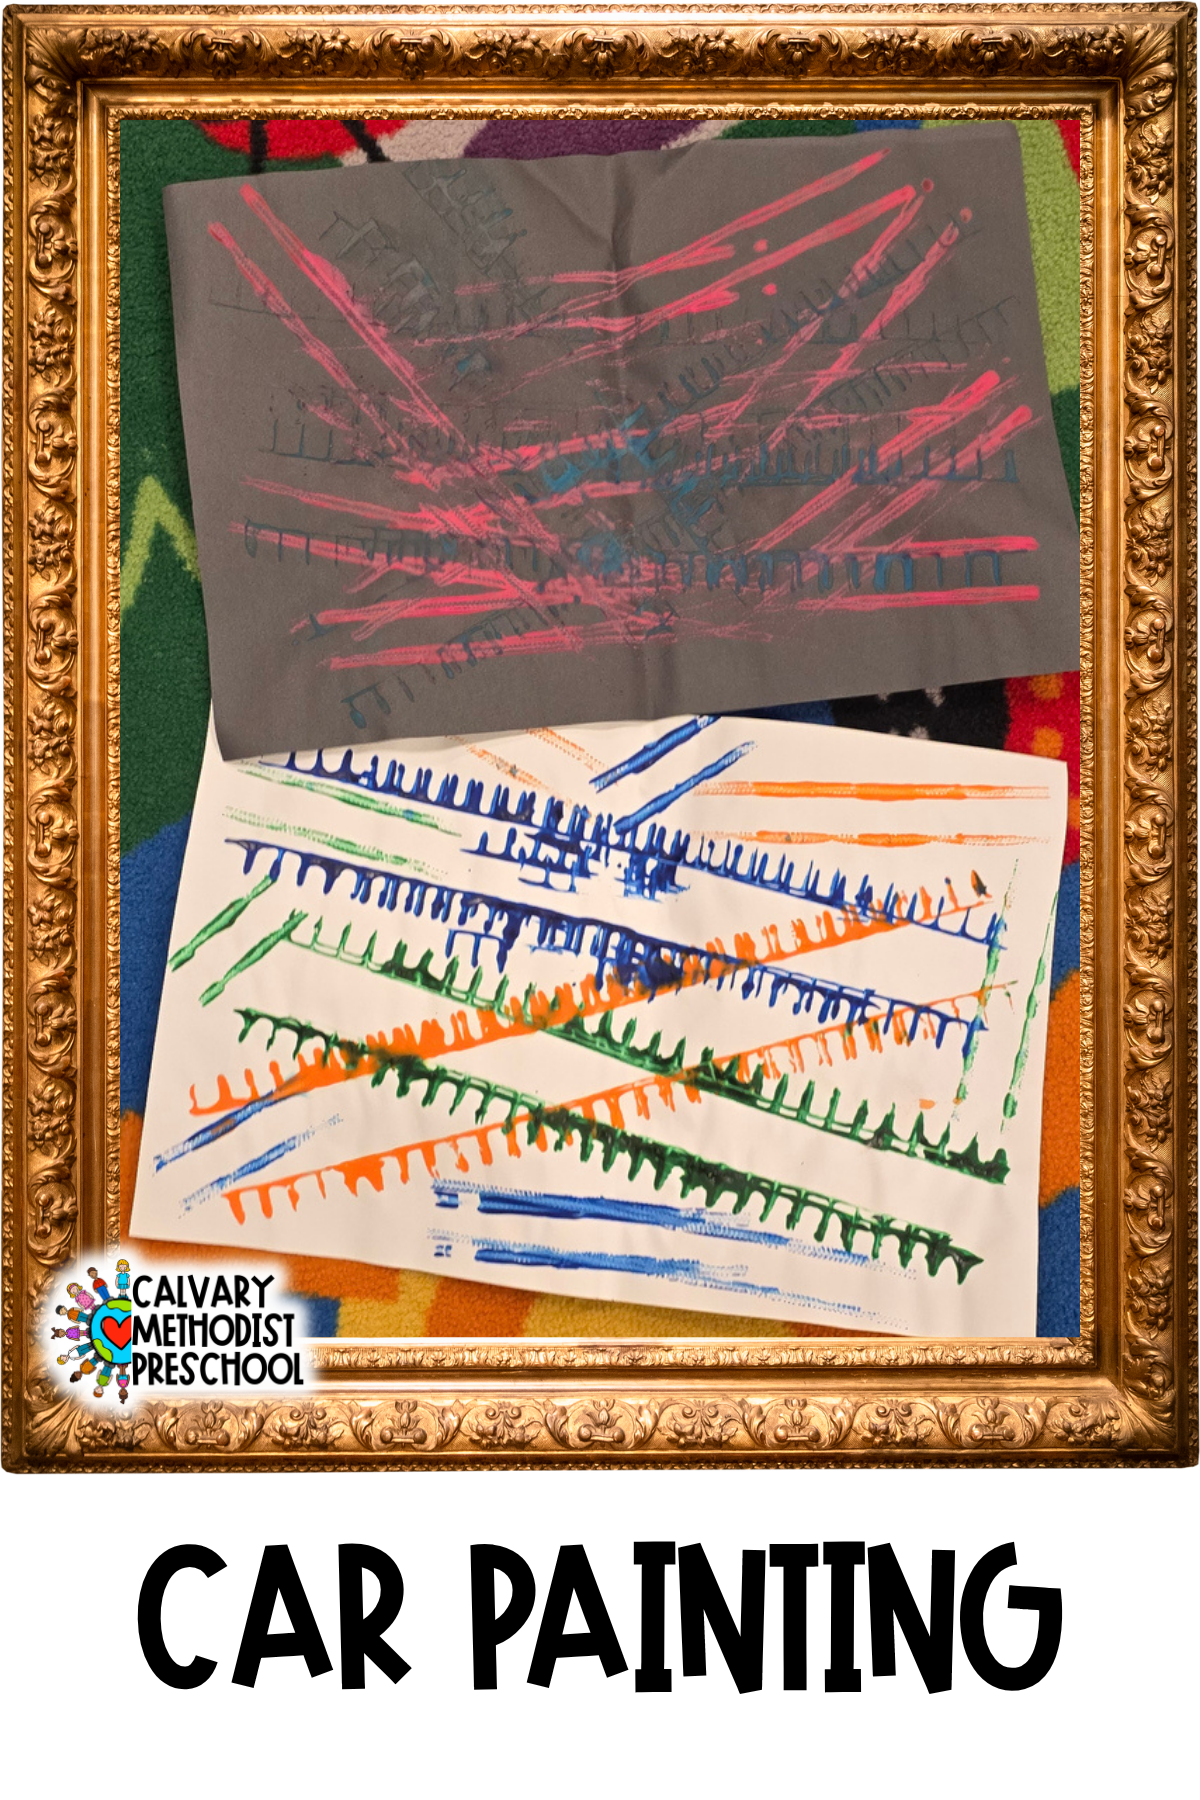
4. Car Painting
Children love cars, and they love paint, so this process art activity is almost always a winner! It’s easy to set up and can tempt even a reluctant artist to join in.
Car painting is also a great gross motor activity. Children can stretch, push, pull, and move as they guide their vehicles across the paper.
What you’ll need: A large piece of paper, paint, a tray or shallow container, and toy cars or trucks.
Heavy paper works best for this activity. Try butcher paper, poster board, or even flattened paper bags. Add some paint to a tray or place small amounts directly onto the paper.
While you set up, send the children on a hunt for some cars and trucks. Encourage them to look for vehicles with large wheels and bumpy treads. Small Hot Wheels cars aren’t always the best choice for this activity. Monster trucks or other vehicles with textured tires tend to leave more interesting patterns.
How to do it: Let children roll their cars and trucks through the paint and all over the paper. As they play, encourage them to notice how the paint colors mix and how the tire treads leave different patterns behind.
What happens when they drive through two colors? What kinds of tracks do different wheels make? Children can experiment with different vehicles, directions, and amounts of paint to see what happens.
5. Spin Art
Spin art is a process art activity with an element of surprise! Children can make predictions about what the paint will do, but they won’t know exactly what their artwork will look like until the spinning stops.
What you’ll need: A salad spinner, paper, and paint.
I recommend cutting the paper to fit neatly in the bottom of your salad spinner. If you have squeeze bottles for your paint, they work great. If not, droppers or a spoon will do the trick.
How to do it: Place the paper in the bottom of the salad spinner, then add a few drops of paint. For the best results, try placing the paint near the center of the paper.
Put the lid on securely, then spin away! Let children take turns spinning and experiment with how quickly they can get it going. When the spinner has come to a complete stop, remove the lid and see what you’ve created.
Notice how the colors have mixed and how the paint has spread from the center toward the edges. Every painting will turn out a little differently!
You can also find spin art kits online, but using a salad spinner makes this activity easy to set up with supplies you may already have at home. Plus, there’s something especially fun about the big reveal when you open the lid!
6. Blow Painting
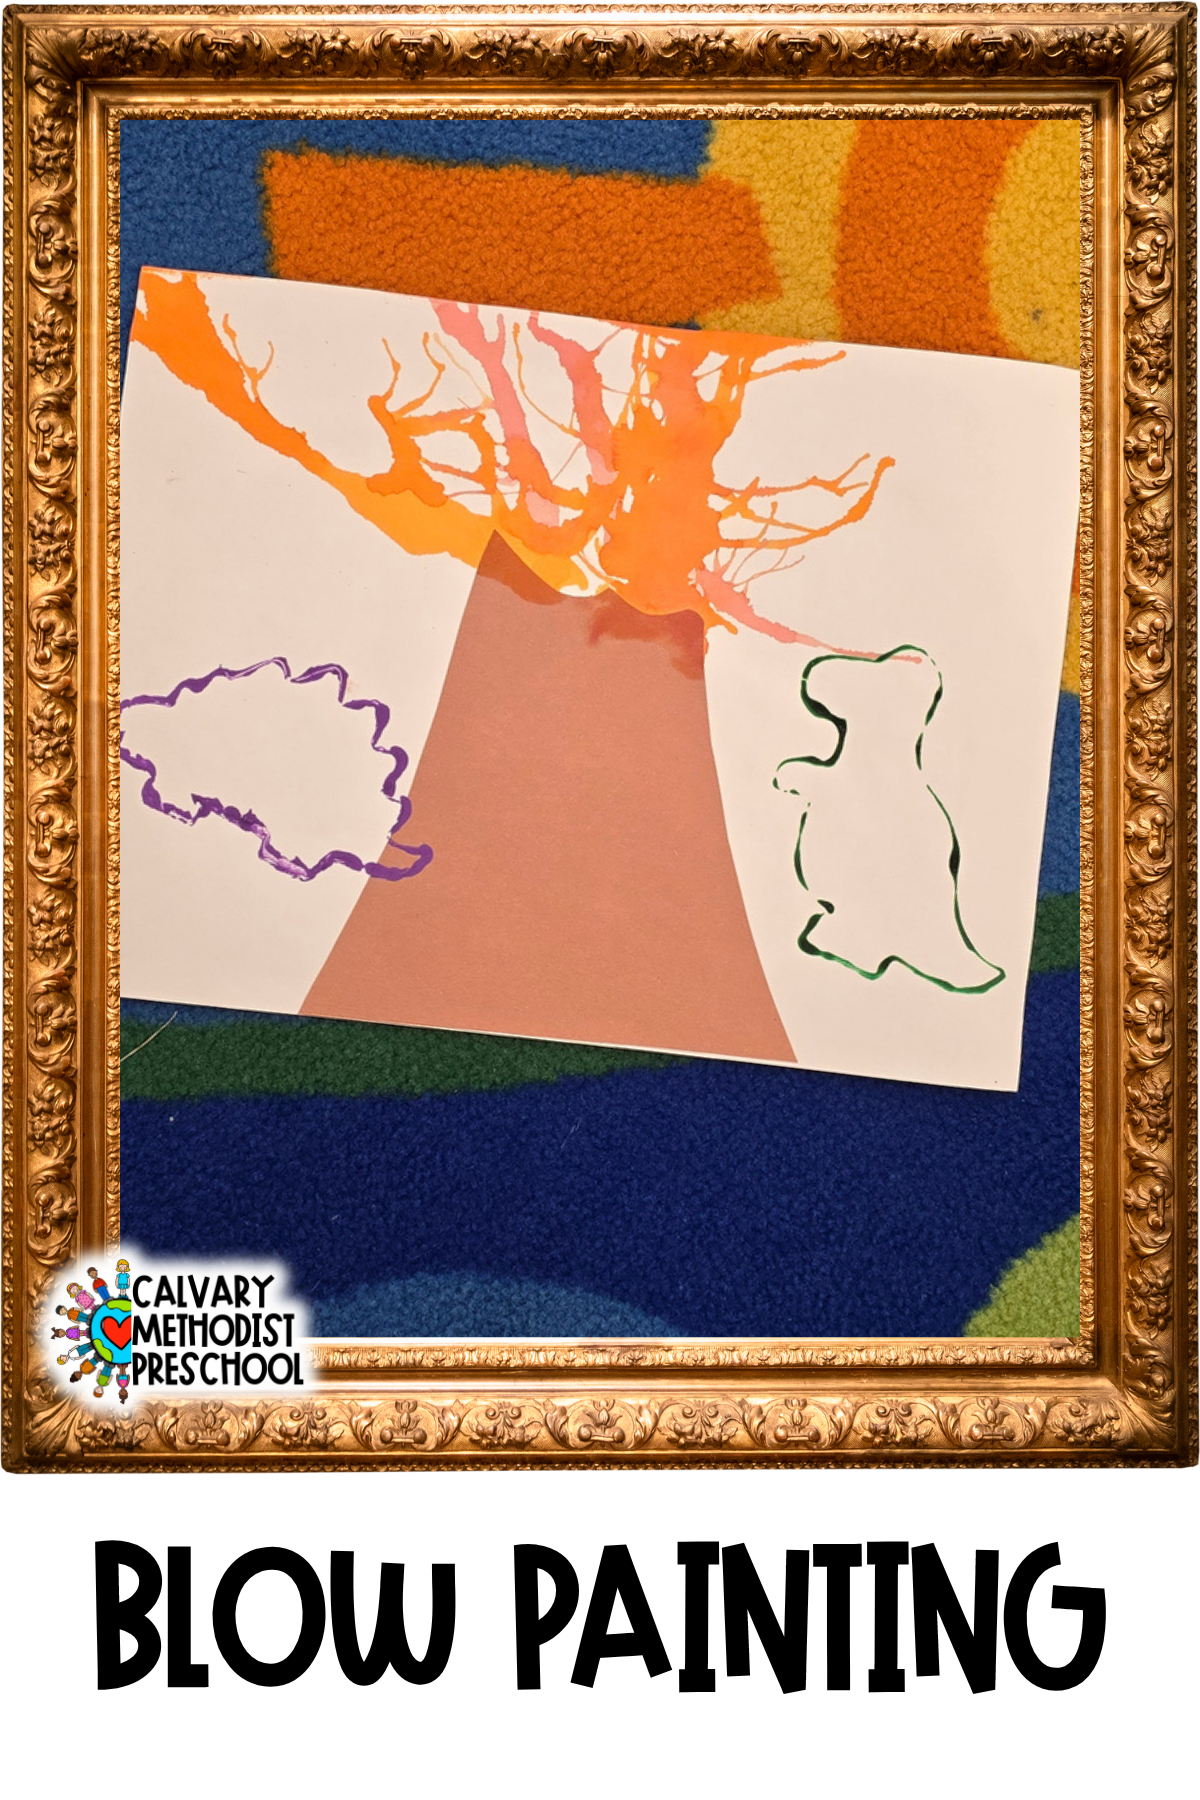
Pair some thin paint with straws, and you have a creative art technique that children are sure to love! Blow painting encourages children to experiment with breath, direction, and movement as they watch the paint travel across the paper.
What you’ll need: Paper, washable paint, water, straws, and a dropper or spoon.
How to do it: Mix a little water into your paint until it’s thin enough to move when you blow on it. You can also use liquid watercolors or water tinted with food coloring.
Use a dropper or spoon to place small puddles of paint onto the paper. Then, invite children to blow through their straws to move the paint around.
Some children may find a shorter straw easier to use, while others may prefer a bent straw that helps them direct their breath across the paper rather than straight down.
Once they get the hang of it, children may not want to stop! They can add more drops of paint, change the direction of their blowing, and see how far they can move the colors.
A quick safety reminder: Make sure children blow air out through the straw rather than sucking in, and supervise them closely. Avoid this activity with children who have difficulty following that direction. Never share straws between children.
7. Bubble Painting
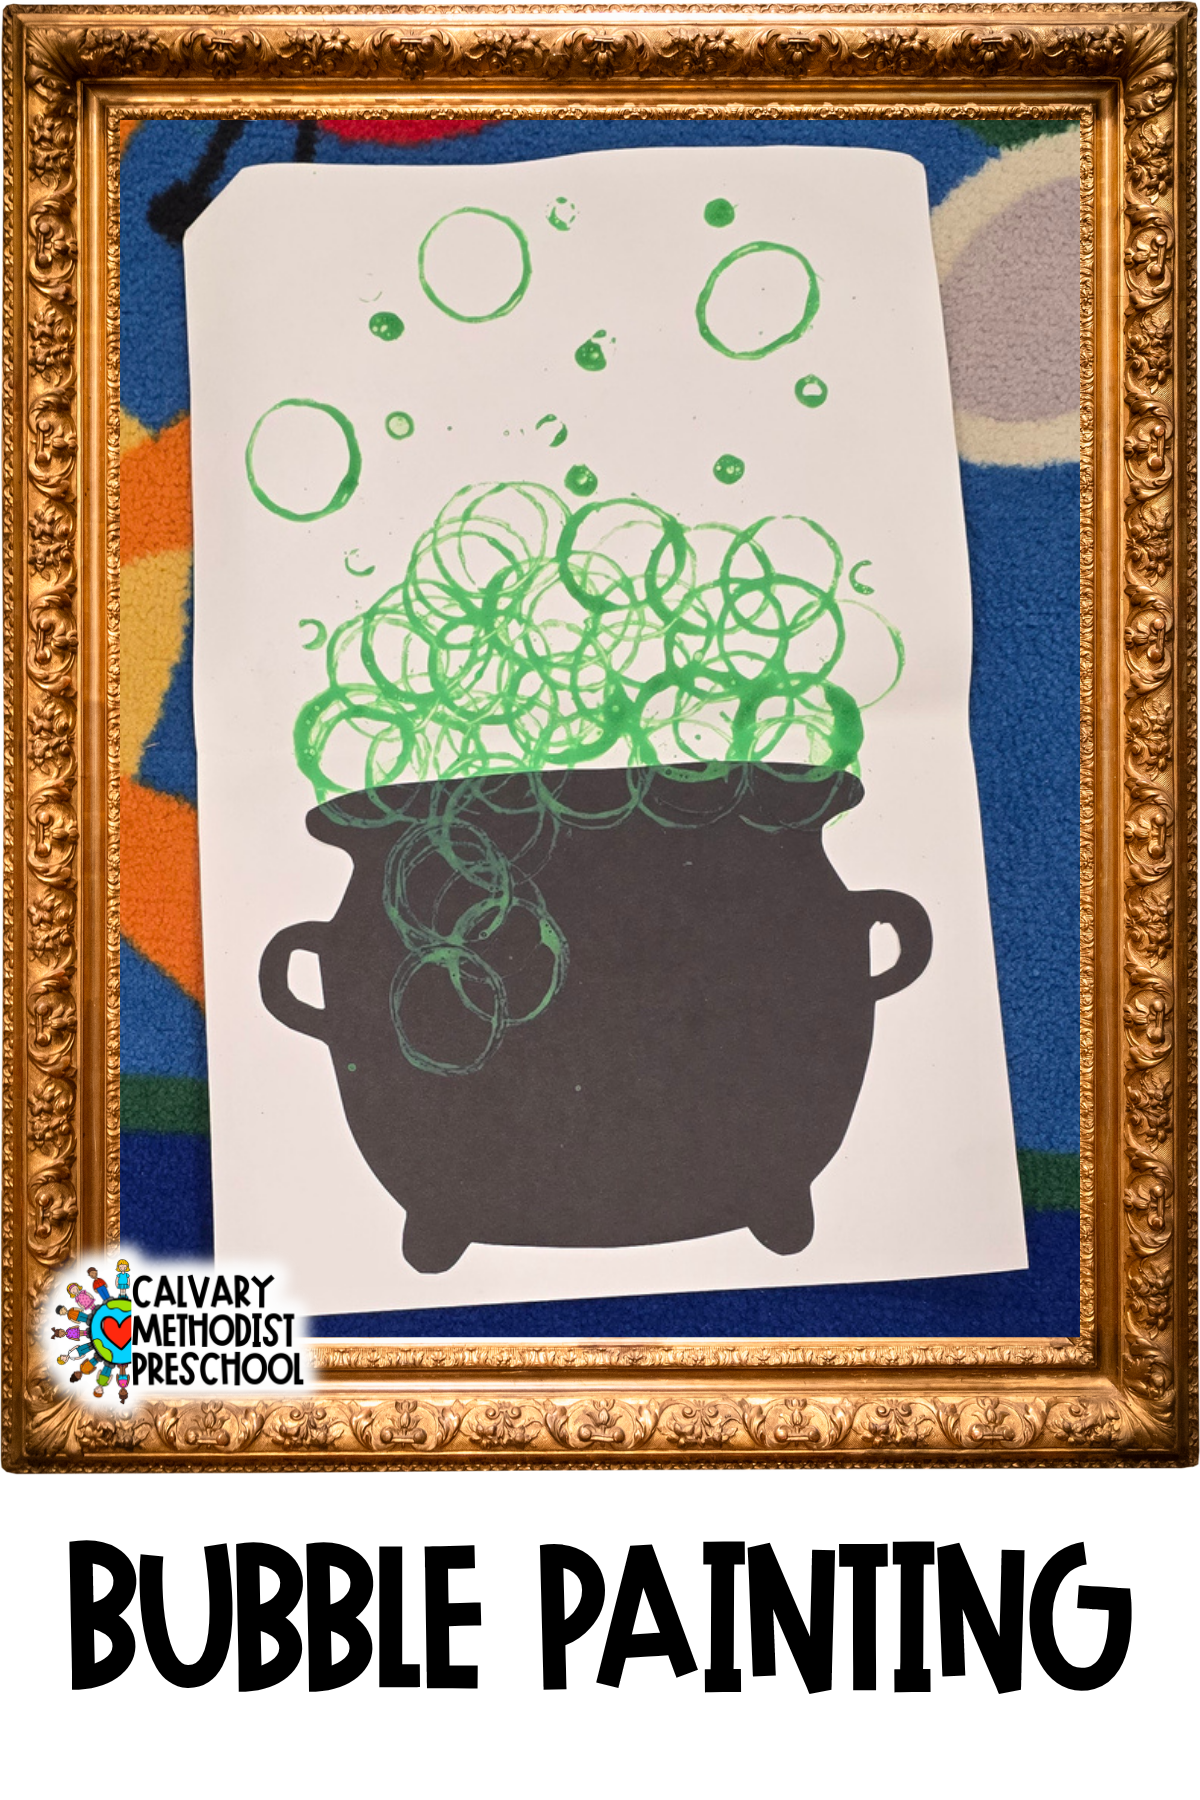
There are several different ways to try bubble painting, and they’re all fun! Both techniques let children explore how bubbles and paint interact, creating interesting shapes and textures along the way.
Method 1: Paint and Soap Bubbles
What you’ll need: Washable paint, dish soap, toilet paper or paper towel tube, and paper.
Mix a little dish soap into your washable paint. Dip the end of a cardboard tube into the mixture, then press it gently onto the paper and lift it away. If you get the mixture just right, you’ll see a colorful circle with a bubble left behind!
Children will be very excited to pop the bubble and see what happens. They can repeat the process to create a whole collection of circles and bubble prints.
Method 2: Colored Bubble Painting
What you’ll need: Bubble solution, food coloring or liquid watercolors, bubble wands, and paper.
Add a little food coloring or liquid watercolor to your bubble solution. Dip a bubble wand into the mixture, then blow bubbles toward the paper so they land and leave colorful marks.
Children can experiment with blowing gently or making lots of bubbles at once. The overlapping circles and splashes of color create a unique design, and popping the bubbles is part of the fun!
Want to Take It Up a Notch?
Try making bubble foam! Cut the bottom off a plastic water bottle and stretch an old sock over the cut end. Dip the sock-covered end into your colored bubble mixture, then blow gently through the bottle opening to create foam.
Press the foam onto the paper and let it sit until the paint dries. When you lift it away, you’ll reveal a really interesting texture that looks a little like marble!
As always, supervise children closely, and remind them not to drink or suck on the bubble solution.
The Best Part of Process Art? There’s No Wrong Way to Create!
One of our favorite things about process art is that there’s no single right way to do it. Every child approaches an activity differently, and that’s part of what makes the experience so valuable. One child might spend the whole time exploring how colors mix, while another is fascinated by the way a marble rolls or a rubber band bounces. Both are learning, experimenting, and creating something uniquely their own.
Process art gives children the freedom to follow their curiosity, make choices, test ideas, and discover what happens when they try something new. It also reminds them that art doesn’t have to look a certain way to be meaningful. The fun is in the doing!
When your artwork is dry, you can display it just as it is or save it for another project. Use a scrape painting as the background for a collage, turn bubble prints into colorful creatures, or cut a marble painting into shapes for a new creation. There are so many possibilities!
You don’t need fancy supplies or a complicated plan for a meaningful creative experience. A little paint, a few everyday objects, and some room to experiment are often all you need.
So roll up your sleeves, embrace the mess, and see what happens! You might be surprised by what your child discovers—and you may find yourself having just as much fun as they do.